Integrating Elastic Path Payments Powered by Stripe
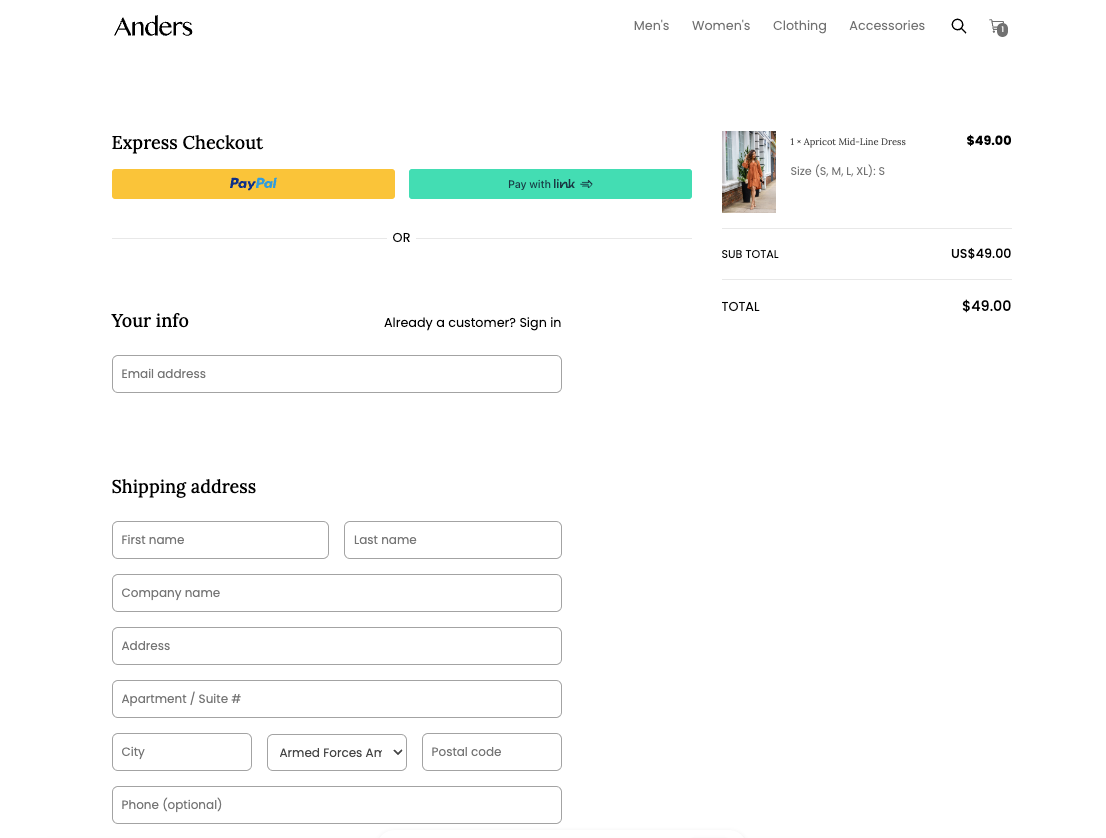
You can quickly and easily integrate Studio with Stripe. Once configured, you can use the Checkout page that is automatically created for you when you connect to Commerce in your storefront.
Prerequisites
-
Ensure that you are onboarded to Elastic Path Payments Powered by Stripe.
noteDepending on the payment methods you want to support, you may need to configure them in Stripe.
-
Log in to the Stripe Dashboard to find your Stripe Account ID.
-
Go to Commerce Manager to ensure the Elastic Path Payments powered by Stripe gateway is enabled.
-
Ensure that you have configured your Elastic Path integration with Studio. See Getting Started with Composable Commerce.
Configure the Stripe Integration
Follow these steps to configure the Stripe integration in Studio.
-
Select Settings > Integrations.
-
Navigate to Payment & Storefront.
-
Select + next to Stripe.
-
Configure the Stripe component settings.
Option Description Publishable key Your publishable key for your Stripe account. You can get this from the Stripe Dashboard under the API keys tab. Account ID Your Stripe account ID. See Prerequisites. -
Select Restrict Shipping to Default Country if you want to restrict shipping your products to your native country.
-
Select Connect Account. The Checkout page that was automatically created when you connected to Commerce is now available for you to use in your storefront.
