Integrating MailChimp
Overview
Our Mailchimp integration pushes form submission data to a pre-defined Mailchimp list. At this time our integration Mailchimp does not support tagging. If tagging is something you with to take advantage of we recommend that you use our Zapier integration.
Connecting Mailchimp
-
Navigate to the Integrations tab in your Studio main menu located under Settings.
-
Scroll down on the integrations page until you see the section titled Forms, Email & CRM and click on the plus symbol next to MailChimp to start the process.
-
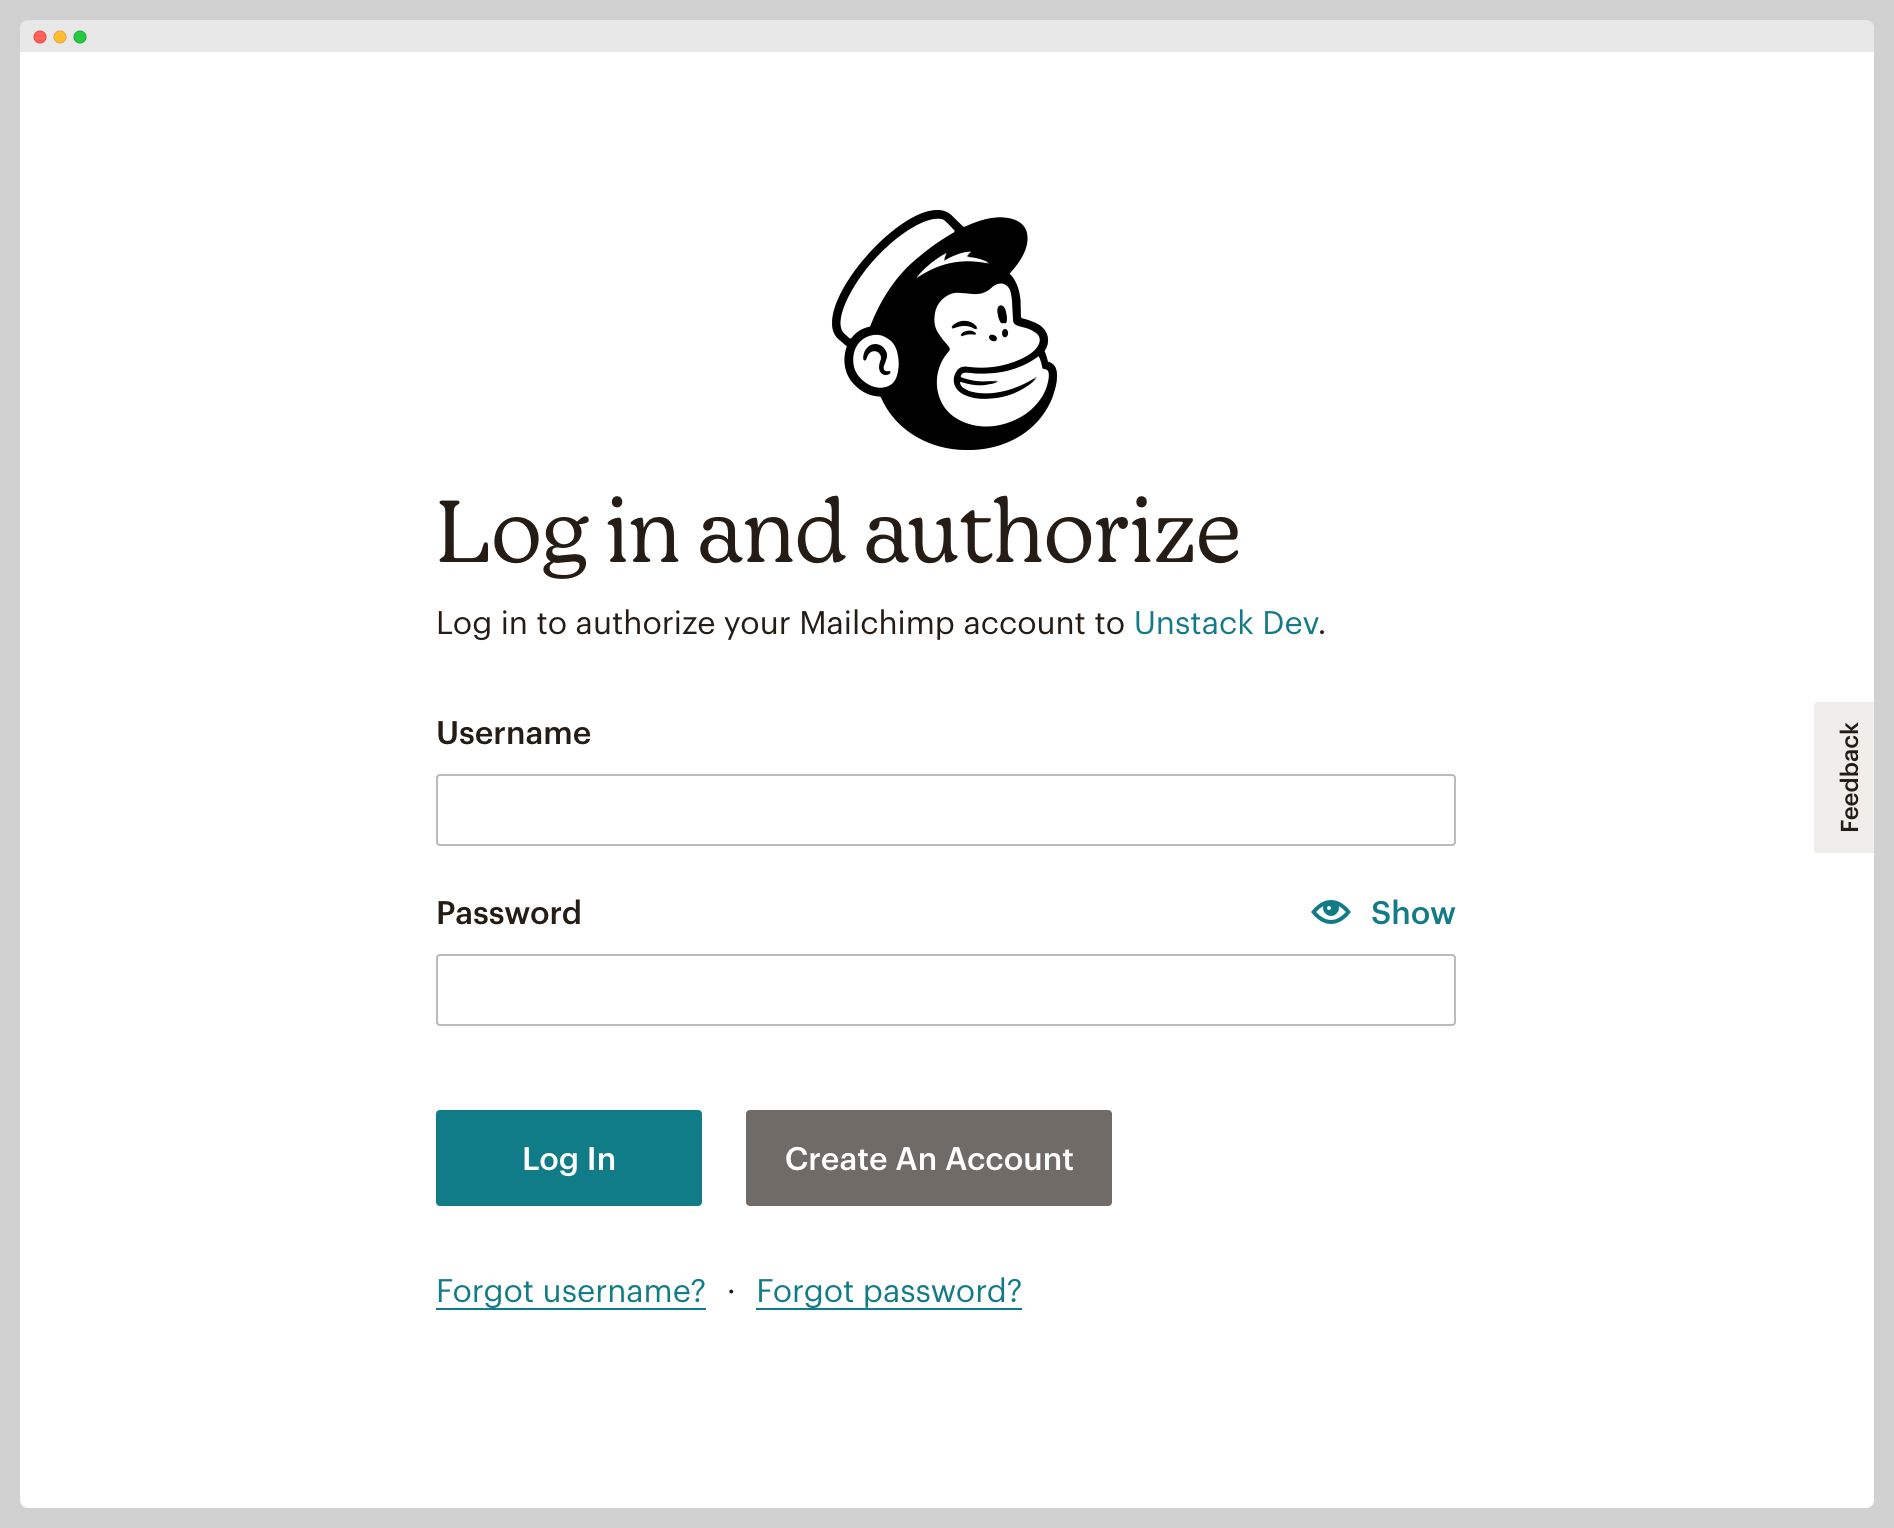
After clicking on the plus symbol, you'll be shown an Auth window prompting you to log in to your MailChimp account.
-
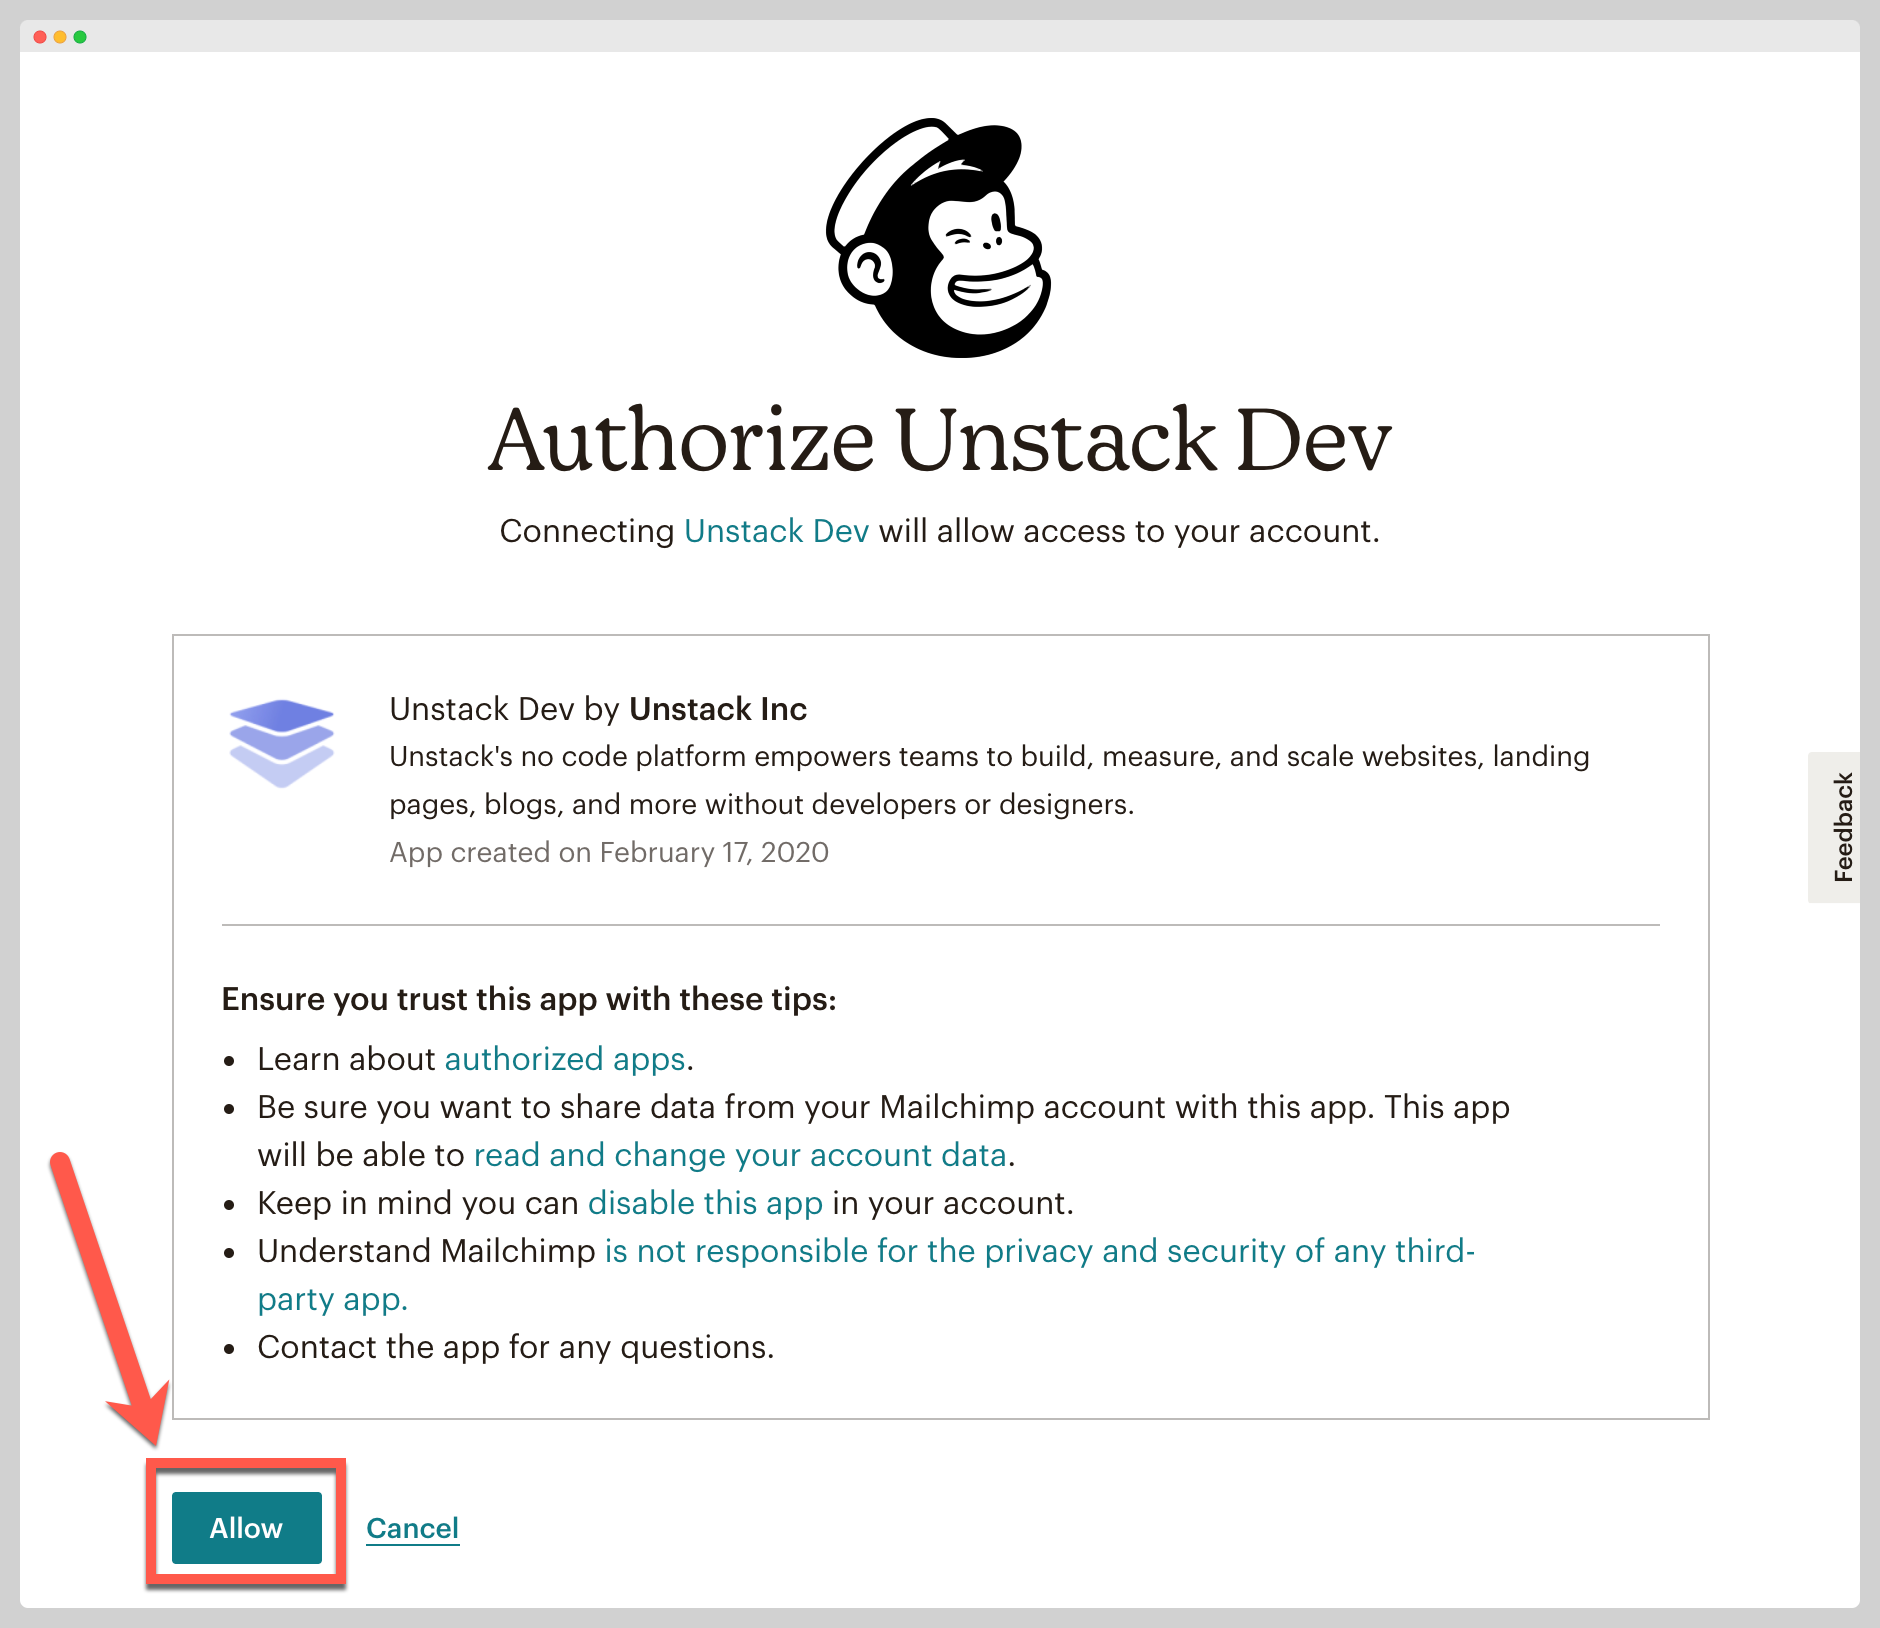
Once you log in, it'll ask you to authorize Studio. Click the green allow button to finish connecting your account.

Updating Your Forms
Before you can take full advantage of the integration, you'll need to configure your forms to send collected user information over to Mailchimp. This is done by following the below steps.
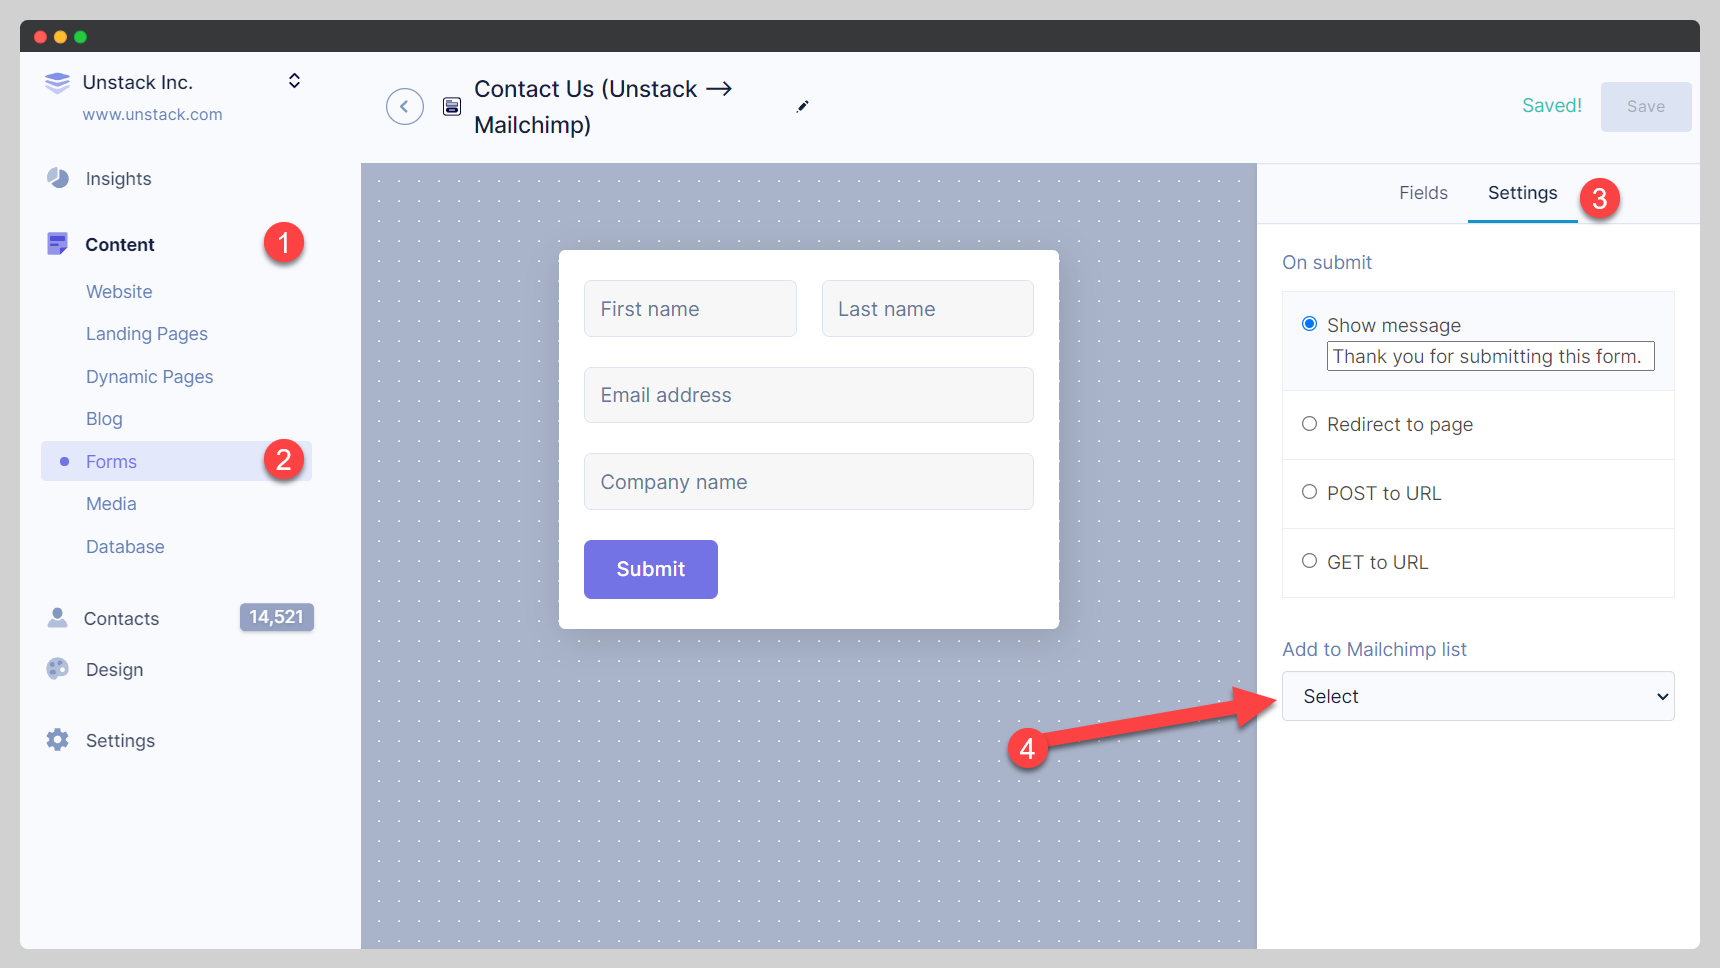
- Identify the Studio form that you'll be using on your site.
- Open the settings for that form found through Content > Forms > [Your Form] > Settings
- If you've already configured the Mailchimp integration, then it's here that you'll see a dropdown asking you to select a Mailchimp list.
- Select the appropriate list and hit save!
Quick Note
At this time you're only able to use one list with a form. If you wish to have the same form send users to different lists then you'll need to set up multiple forms that are configured to send users to those lists.
What data do we send to Mailchimp?
We will create a contact in Mailchimp that includes the contact's first name, last name, email, phone number, and company name. If you'd like to send other fields or more detailed information to Mailchimp about a user, we recommend that you use our Zapier integration to do so.