Managing Page Settings
When managing a page there are a number of page-specific settings available to you. Some of these settings require a value, while others are optional. Below is a guide to understanding all of the settings in this section!
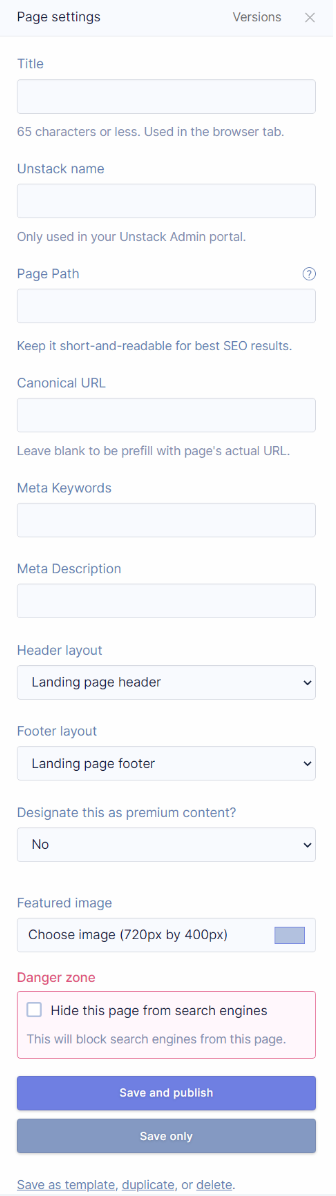
What does the page settings drawer look like?
How do you access the page settings drawer?
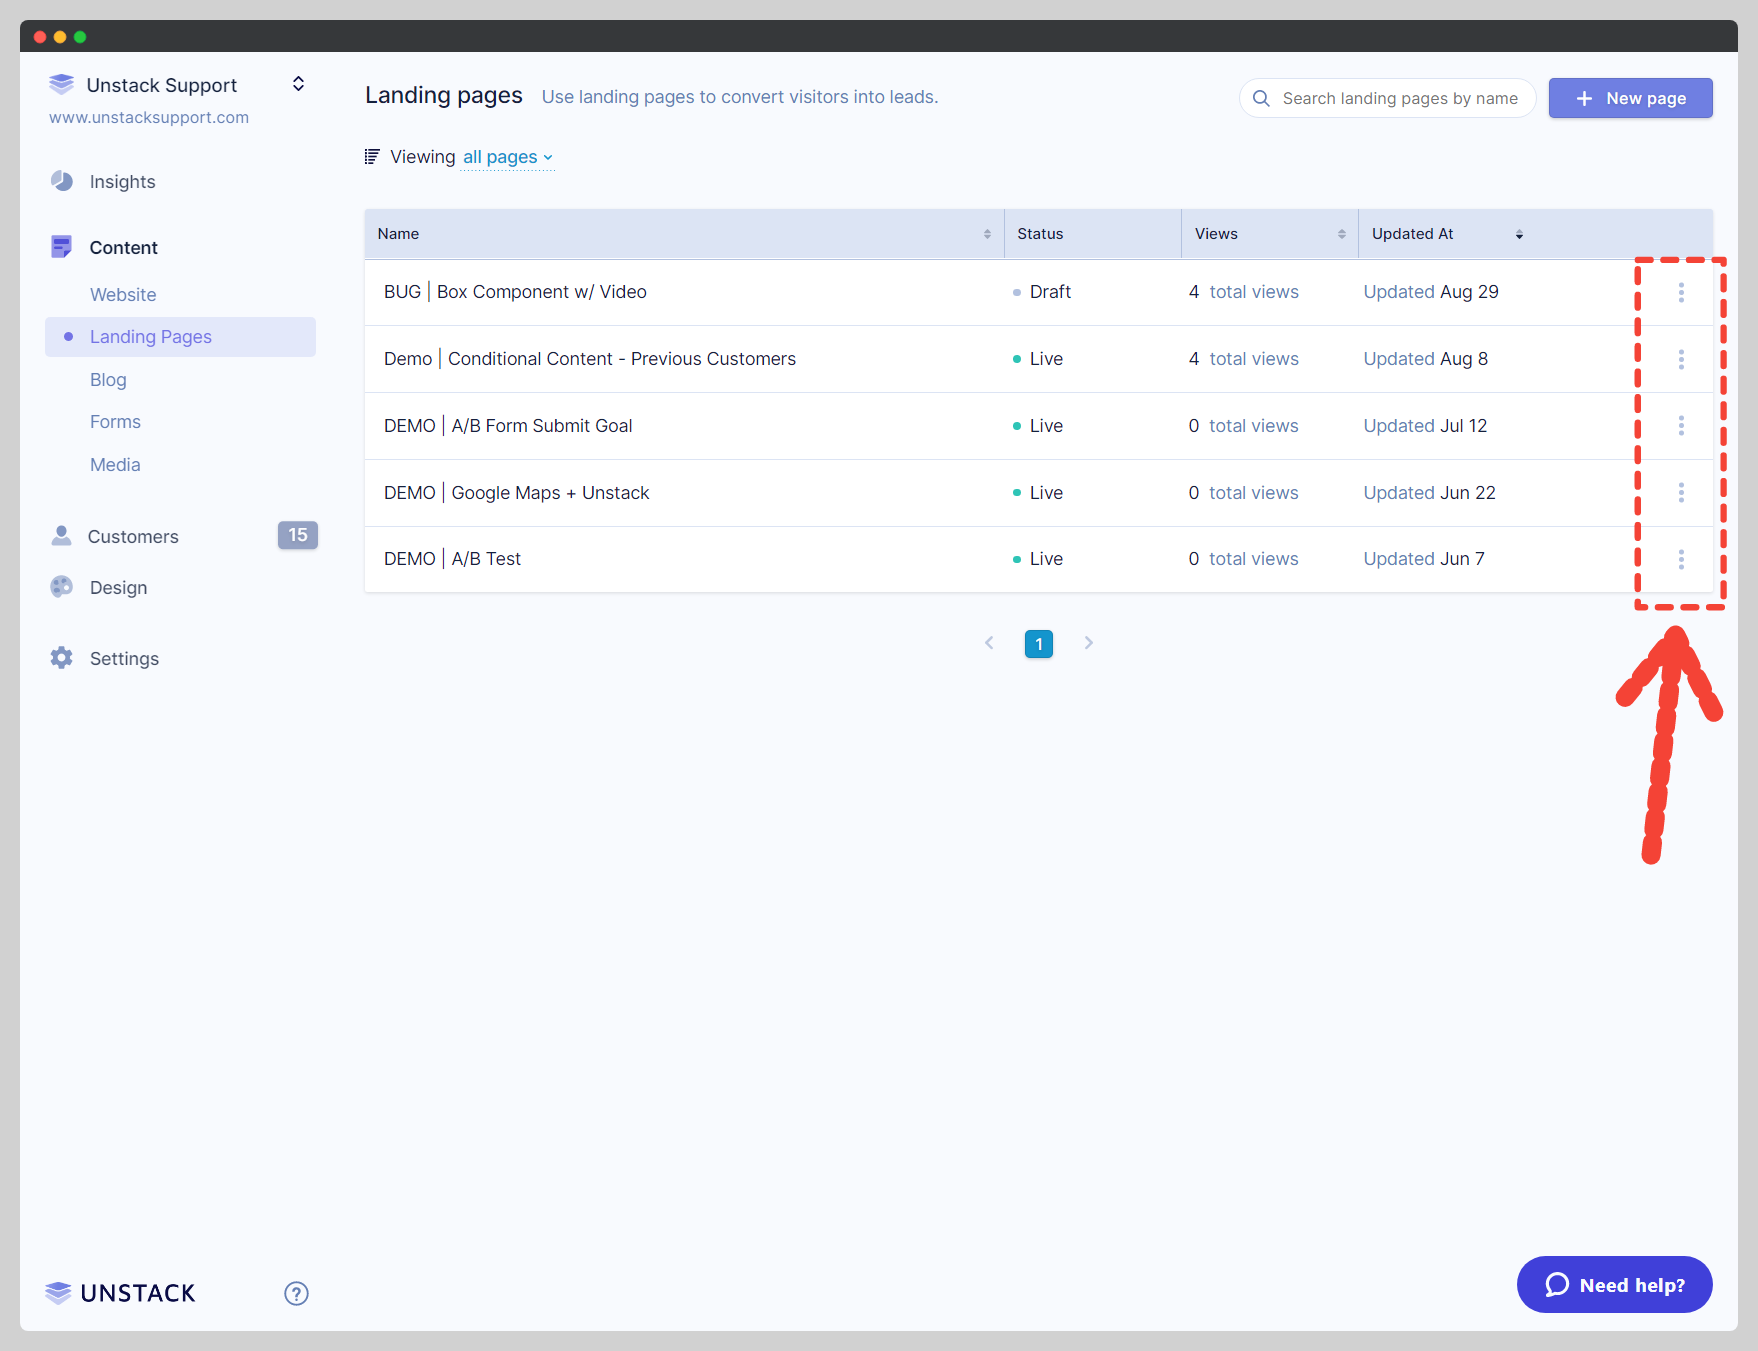
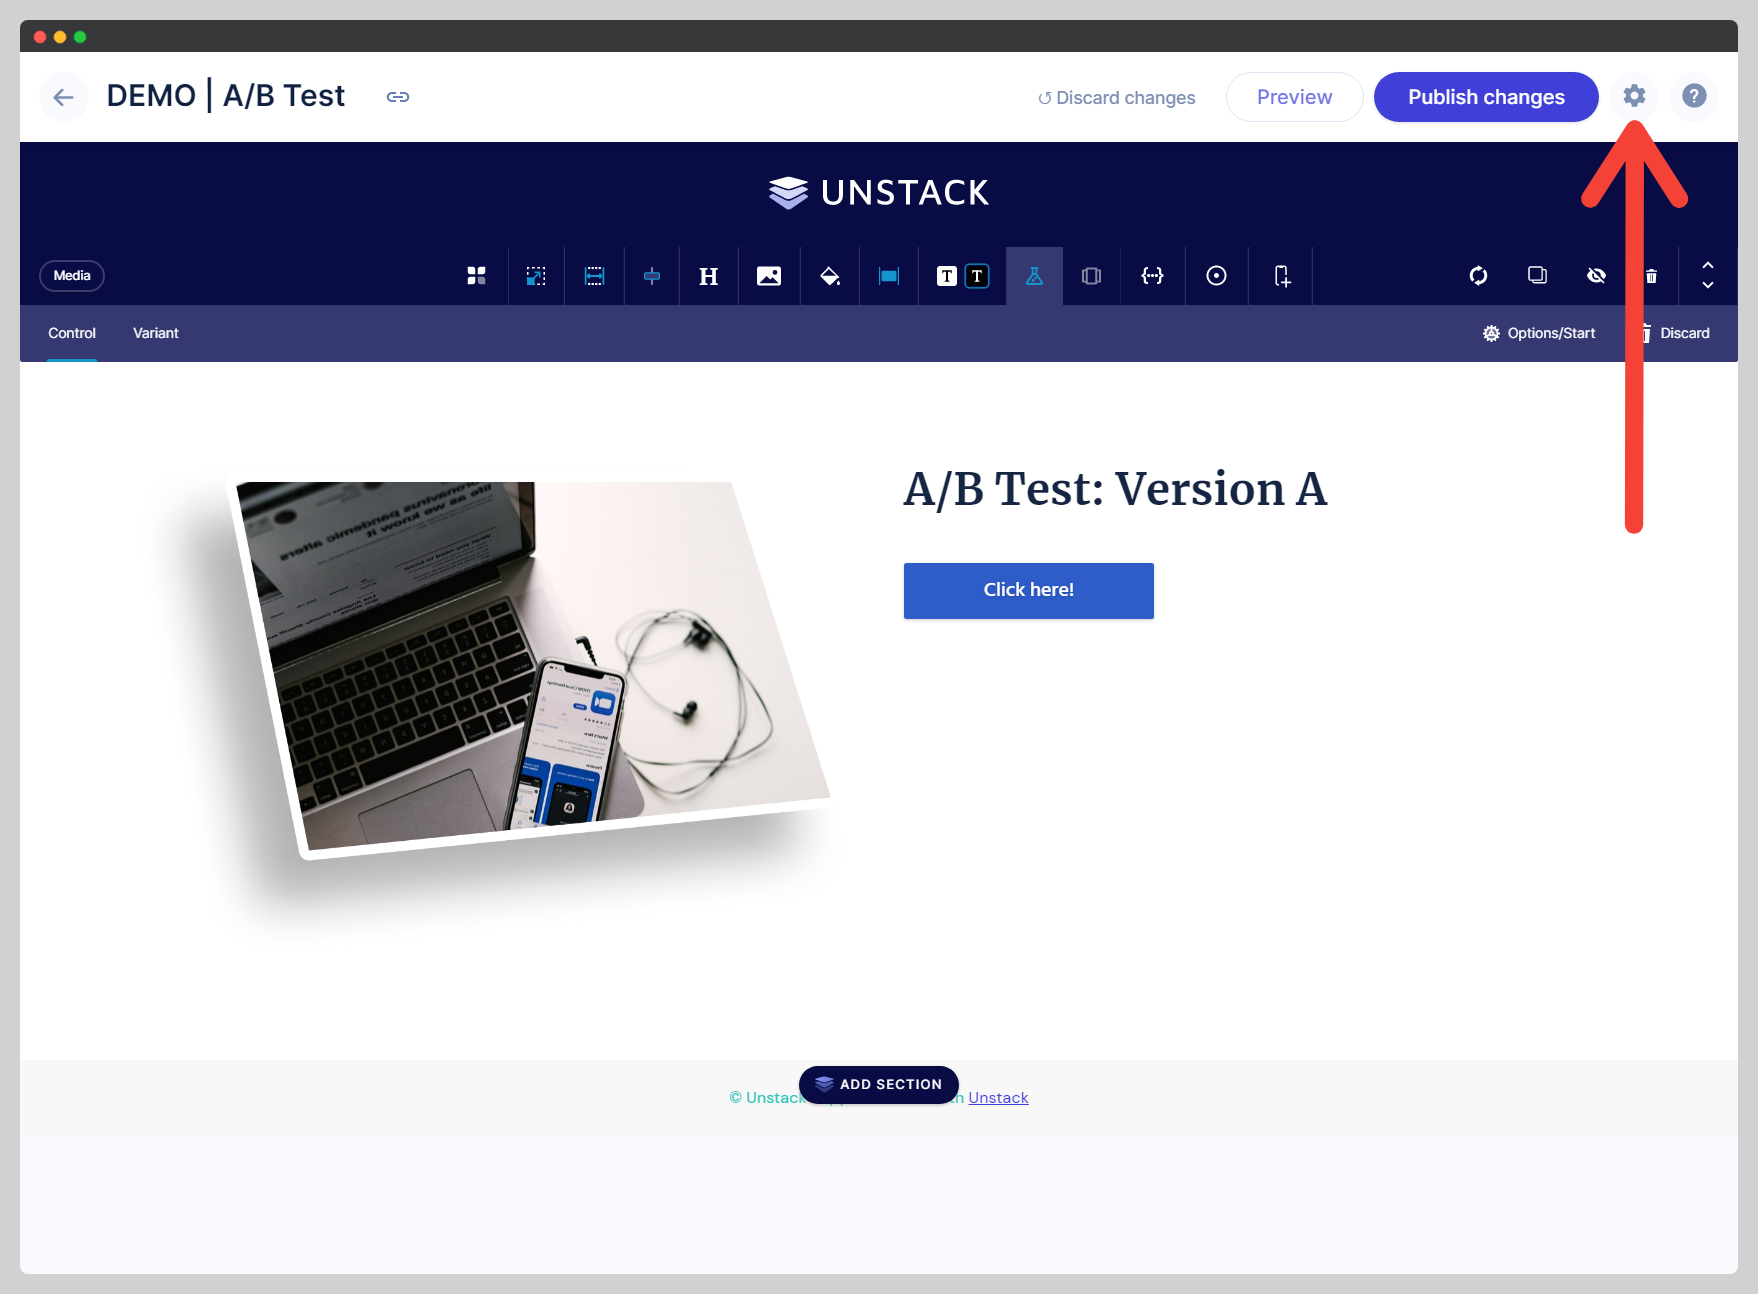
The page setting drawer can be accessed two ways:
-
Through the gear in the top right of the editor
-
Through the "three dots" to the right of the page in the page manager
Required Fields
- Title: This field is an up-to 65-character string of text which will be provided to search engines, shown in the browser tab, and readable by your visitors. With this in mind, your title should not be keyword-stuffed, it should be a short description of what the page contains.
- Studio: This field is used internally as an identifier for your page. You'll see this name when linking to your page, and anywhere else it's referenced internally. This value is never displayed publicly.
- Name
- Page Path: This field controls the URL that the page lives on. For example, if I wanted a page to be accessible through unstack.com/example-path I'd need to set this field to example-path. If I wanted a page to be accessible through unstack.com/path/example I'd need to set this field to path/example.
Optional Fields
Below is a list of the other fields found in the page settings drawer. None of these are required, but each has a specific function:
-
Canonical URL: If you need to set a canonical URL for your page, this is where you do it. There's a lot to unpack here so check out this article from our friends at Shopify that unpacks the concept for us.
-
Meta Description: This field controls the meta description of a page. For the uninitiated.. a meta description is an HTML element that provides a brief summary of a web page. A page's meta description tag is displayed as part of the search snippet in a search engine results page (SERP) and is meant to give the user an idea of the content that exists within the page and how it relates to their search query. (Source)
-
Meta Keywords: This field is where you can define any meta keywords for the page. Again, there is a lot to unpack around this so here's a link to an in-depth article from our friends at WordStream about meta keywords and how to use them.
-
Header Layout: This field is only available on landing pages. You will not see this field in the page settings for a website page. There are three options for this field:
- Full Header - This is the full version of your header and includes all links & buttons.
- Landing Page Header - This is a simplified version of your header that just contains a centered copy of your logo. If you're an ecommerce user, you'll also see the cart/bag in this header.
- No Header - This option removes the header entirely.
-
Footer Layout: This field is only available on landing pages. You will not see this field in the page settings for a website page. There are three options for this field:
- Full Footer - This is the full version of your footer and includes all links & buttons.
- Landing Page Footer - This is a simplified version of your header that contains just your company name (set in Account Settings).
- No Footer - This option removes the footer entirely.
-
Premium Content: This field allows you to gate this page to users who have registered for an account with your site. Read more about this here!
-
Featured Image: This field allows you to set an image for the page so when it's shared on Facebook, Twitter, Reddit, etc the image defined here will show up in their link preview. If an image isn't set, then this page will inherit the social share image that was defined in Design > Header & Footer. Hide this page from search engines Checking this box prevents this page from being indexed by any search engine.
Additional Settings/Options
Versions Save as template Duplicate Delete
At the top of the page settings drawer you'll find "Versions". This option lets you roll back changes to the page and preview earlier iterations of the page. See Version Control.
At the very bottom of the page settings drawer you'll find the option to Save as template. This option lets you create templates from your existing pages for later use. See Saving Page as Template.
Clicking this option creates a duplicate of the current page, saves changes to the current page, and opens a new copy of the current page in the editor. Changes to the page created here will not affect the original page.
Clicking this will prompt you to delete the page. You will be asked to confirm deletion. If you confirm deletion it is not possible to undo the deletion so tread carefully.