Building Forms
Building your form
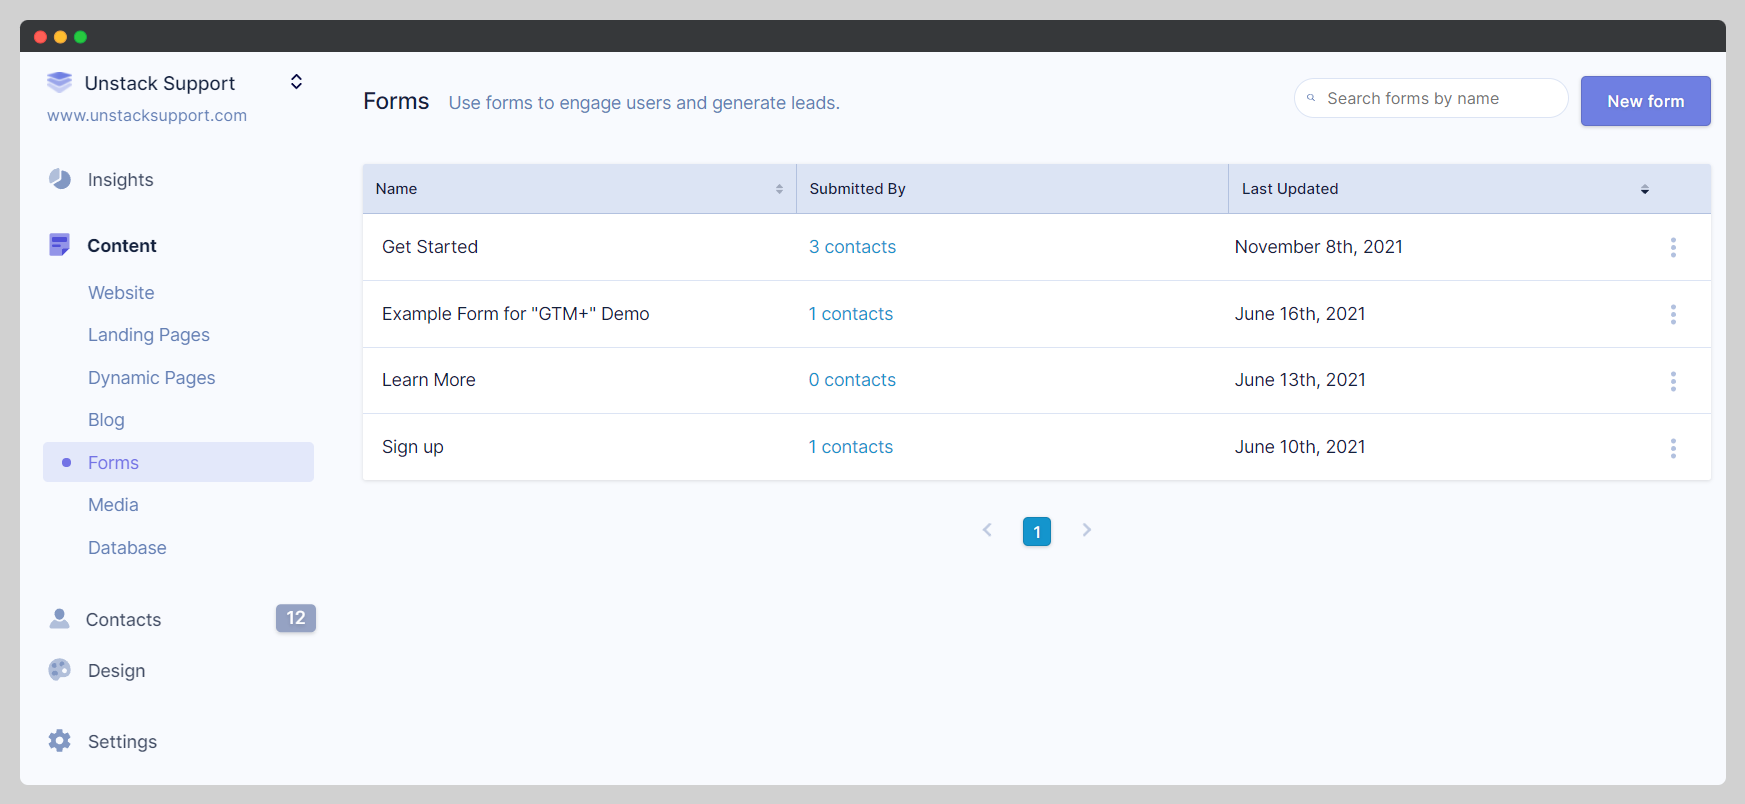
To build a form, you'll first need to select Forms which is found under Content from the Studio Admin. This takes us to our Form Manager, which is where we'll see a list of any Studio forms that we've previously created, the number of submissions that form has recorded, and the last time that form was updated. This is also where we can create a new form or edit an existing one.
For this demo I'm going to select New Form in the top right.
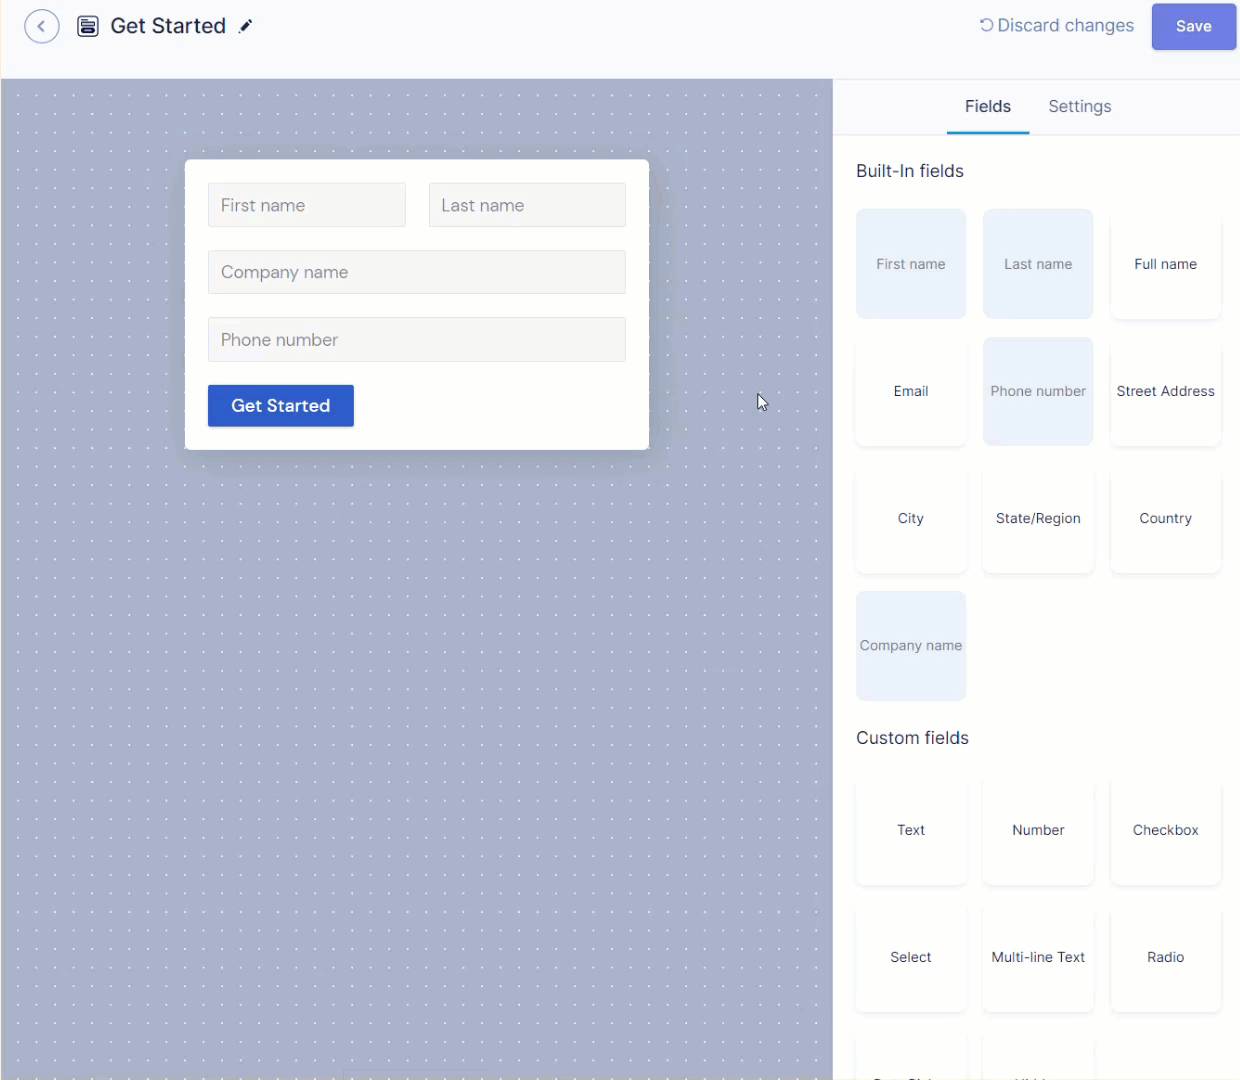
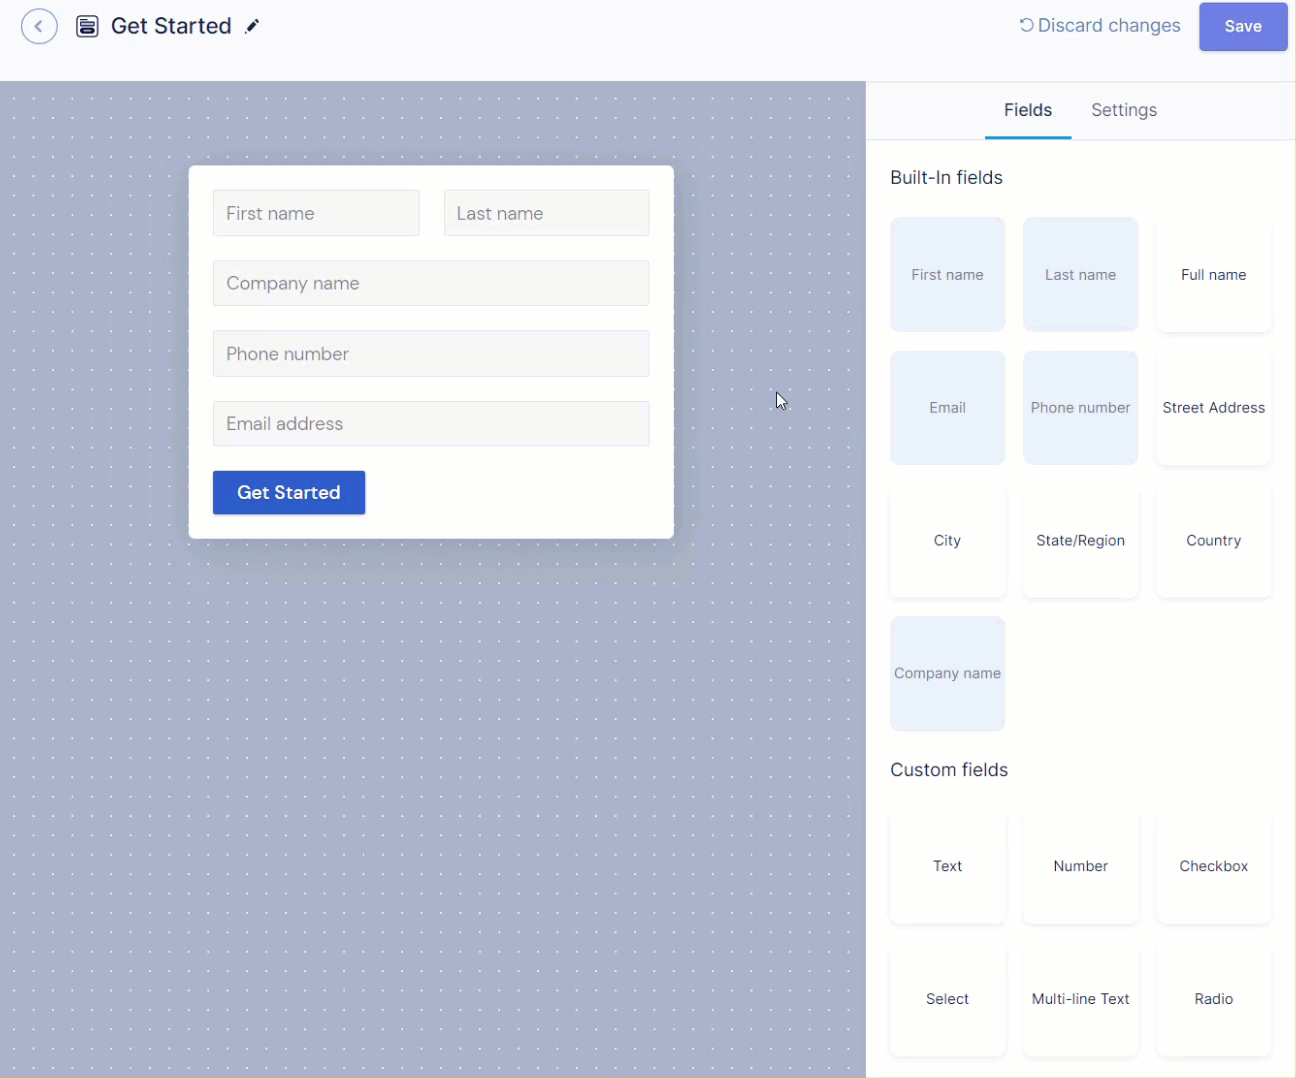
Clicking New Form in the top right takes you into the form editor.
Here is where we are able to add/remove fields to our form to make sure it collects the right information. The builder is an intuitive "drag & drop" styled editor, so if you want to add a field - drag it in, if you want two fields next to each other - drag them next to each other.
Below you'll find a brief description on deleting, adding, and adjusting the fields of your form.
Deleting a Field
To delete a field, click on the field, then select delete from the settings drawer that opens on the right.
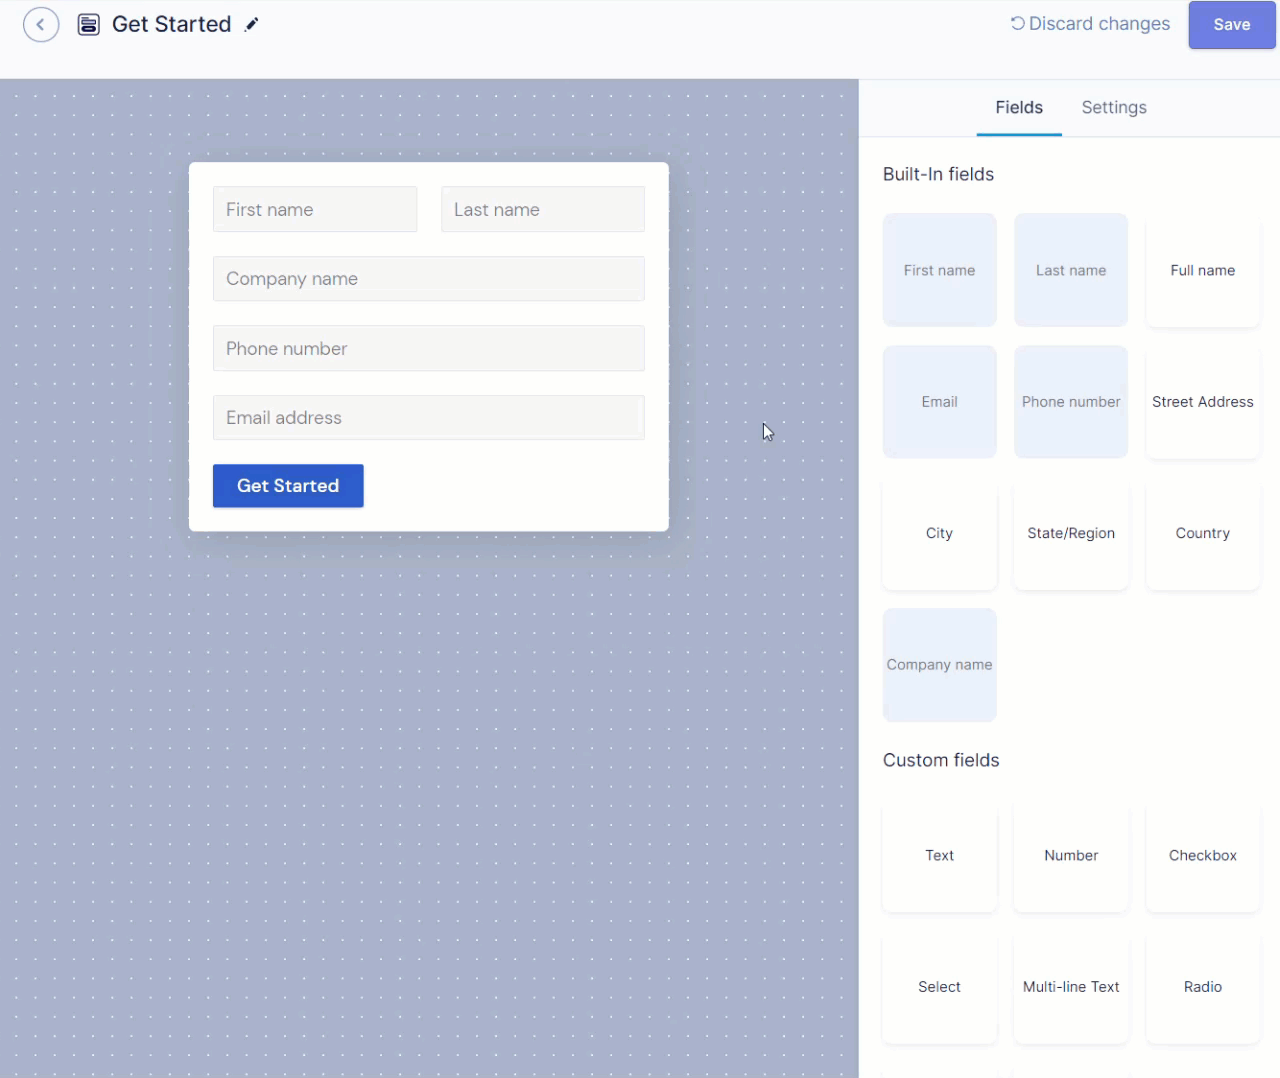
Adding a Field
To add a field, it's as simple as selecting a field and dragging/dropping the field where you want it on the form. You can even drop fields next to each other if you want them to be in-line with one another.
Adjusting Field Settings
To adjust the settings of a field, all you need to do is click on the field you're trying to adjust. Doing so will allow you to edit the Label, Placeholder text, Help text, and whether or not the field is required.
For custom fields you also have the ability to adjust the "name" of the field, which is an internal ID associated to values entered in that field. For the "Built-In Fields" you are not able to adjust this internal ID.
Once satisfied with the fields included on your form, select Settings at the top of the editor. This is where you're able to define choose which of the following should happen when the form is submitted.
- Show Message - The page will not redirect and the user who submits a form will see a thank you message where the form used to be.
- Redirect to Page - The page will redirect to the URL or Smart Link defined here.
- POST to URL &GET to URL - Used to push form submission data elsewhere.
Settings is also where you may see drop-downs for integration-specific options. Such as Mailchimp, HubSpot, Klaviyo or ActiveCampaign
Adding the form to a page
Once your form is ready for use, go back to the page where you'd like to add it, and click the (+) button. Select " Form", and then search for your form!

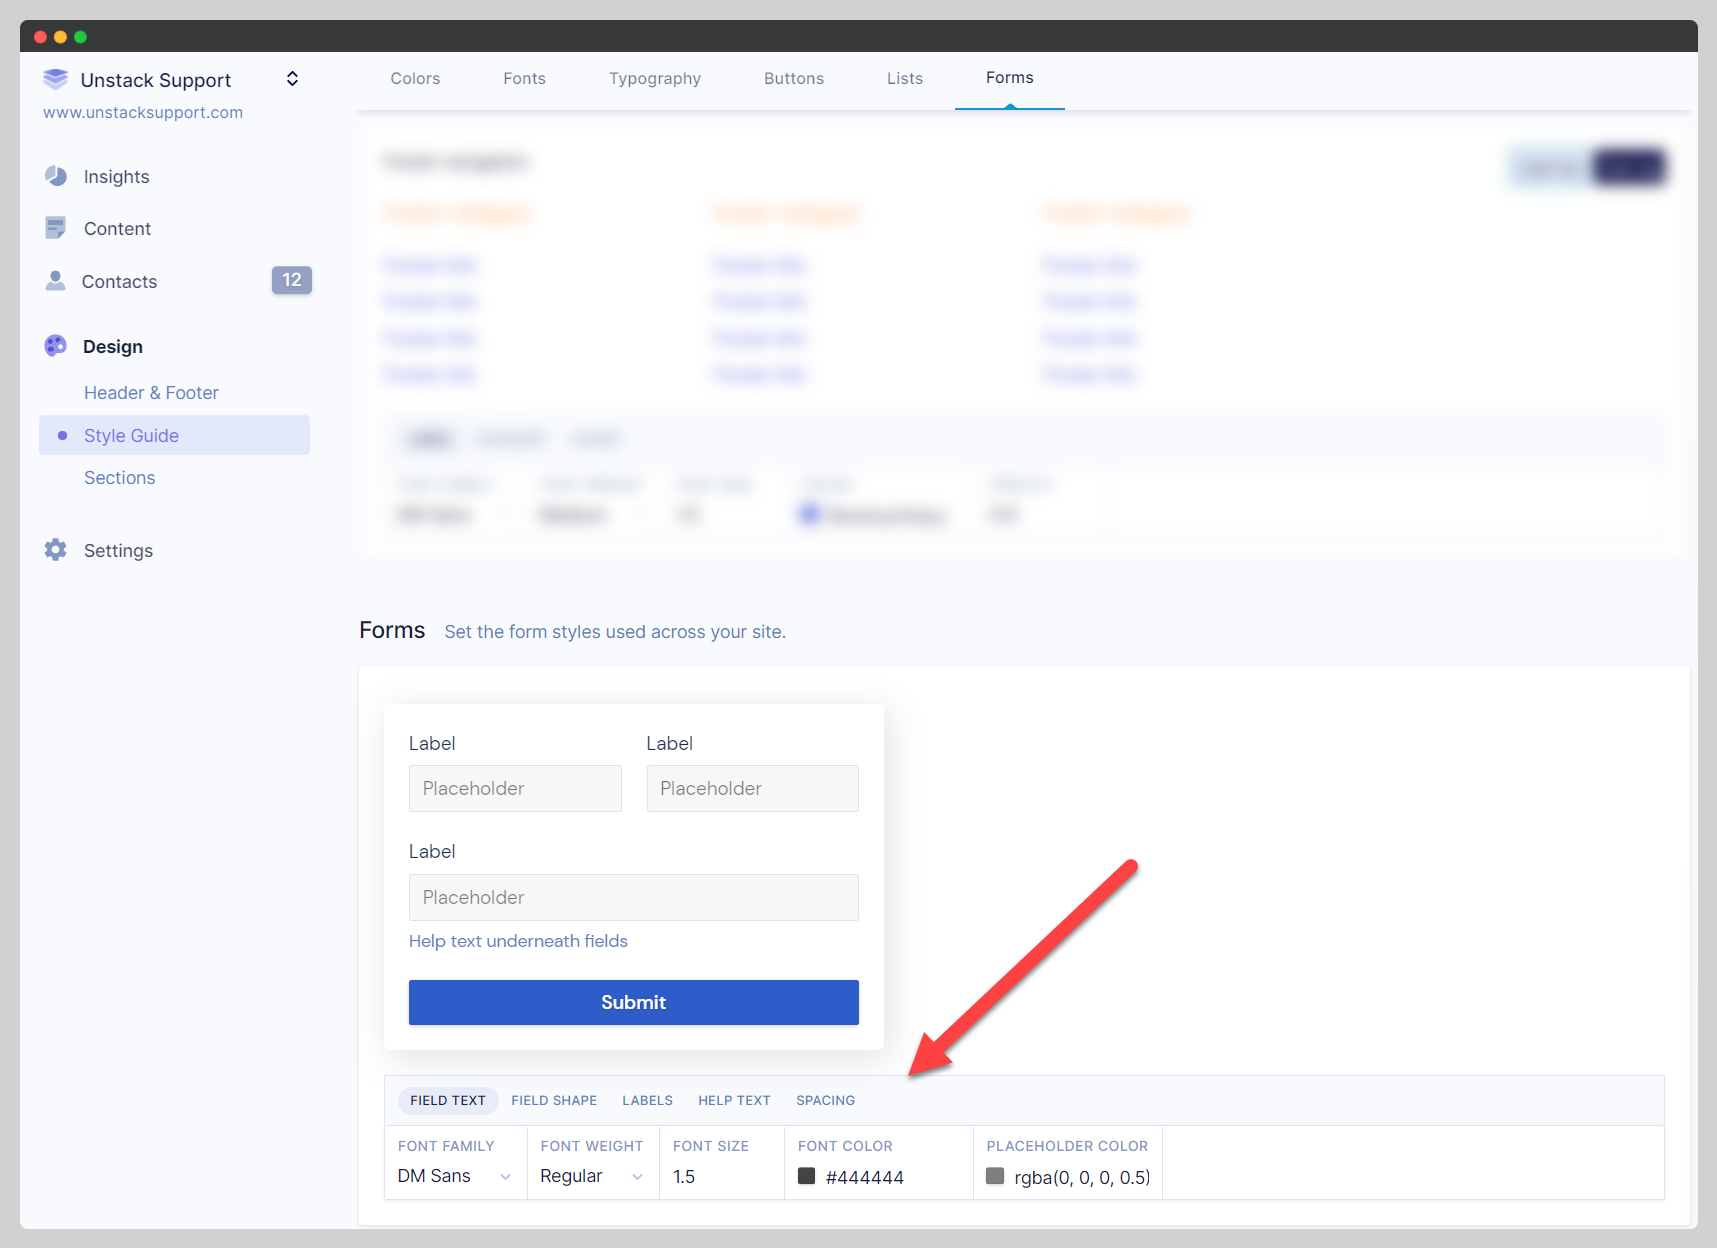
Styling Your Form
Included in Studio is the ability to customize almost every aspect of your form, with very little effort.
This is done through Design > Style Guide in the Studio Admin. Here's a list of the various things you're able to adjust:
-
Field Text (Font/ Font Weight/ Font Size/ Font Color/ Placeholder Color)
-
Field Shape (Padding X/ Padding Y/ Border Radius/ Background/ Border Color/ Focus Border Color)
-
Field Labels (Font Family/ Font Weight/ Font Size/ Font Color)
-
Help Text (Font Family/ Font Weight/ Font Size/ Font Color)
-
Spacing (Form Width/ Horizontal Margin/ Vertical Margin)