Building an Integration with Multiple Flows
In this tutorial we'll cover how to create an integration with multiple flows. In this scenario, we are our fictional B2B software company, Progix. Our customers would like to sync inventory and customer data from their "Acme ERP" systems into Progix. Our integration to Acme ERP will be made up of three flows:
- When customer data in Acme ERP is created or updated, the data is processed and sent to Progix.
- When inventory data in Acme ERP is updated, that data processed and sent to Progix.
- Acme ERP needs to be configured to send data to the previous two flows' webhook endpoints. A third flow runs at deploy-time and sets up webhooks within Acme ERP.
The first two flows could be developed as distinct integrations, but then customer would need two instances deployed to them to integrate with Acme ERP (more as we handle more webhook types). That would get get pretty burdensome. It's much cleaner and maintainable to have a single "Acme ERP" integration that contains the various Acme ERP related flows.
Creating our data sync flows
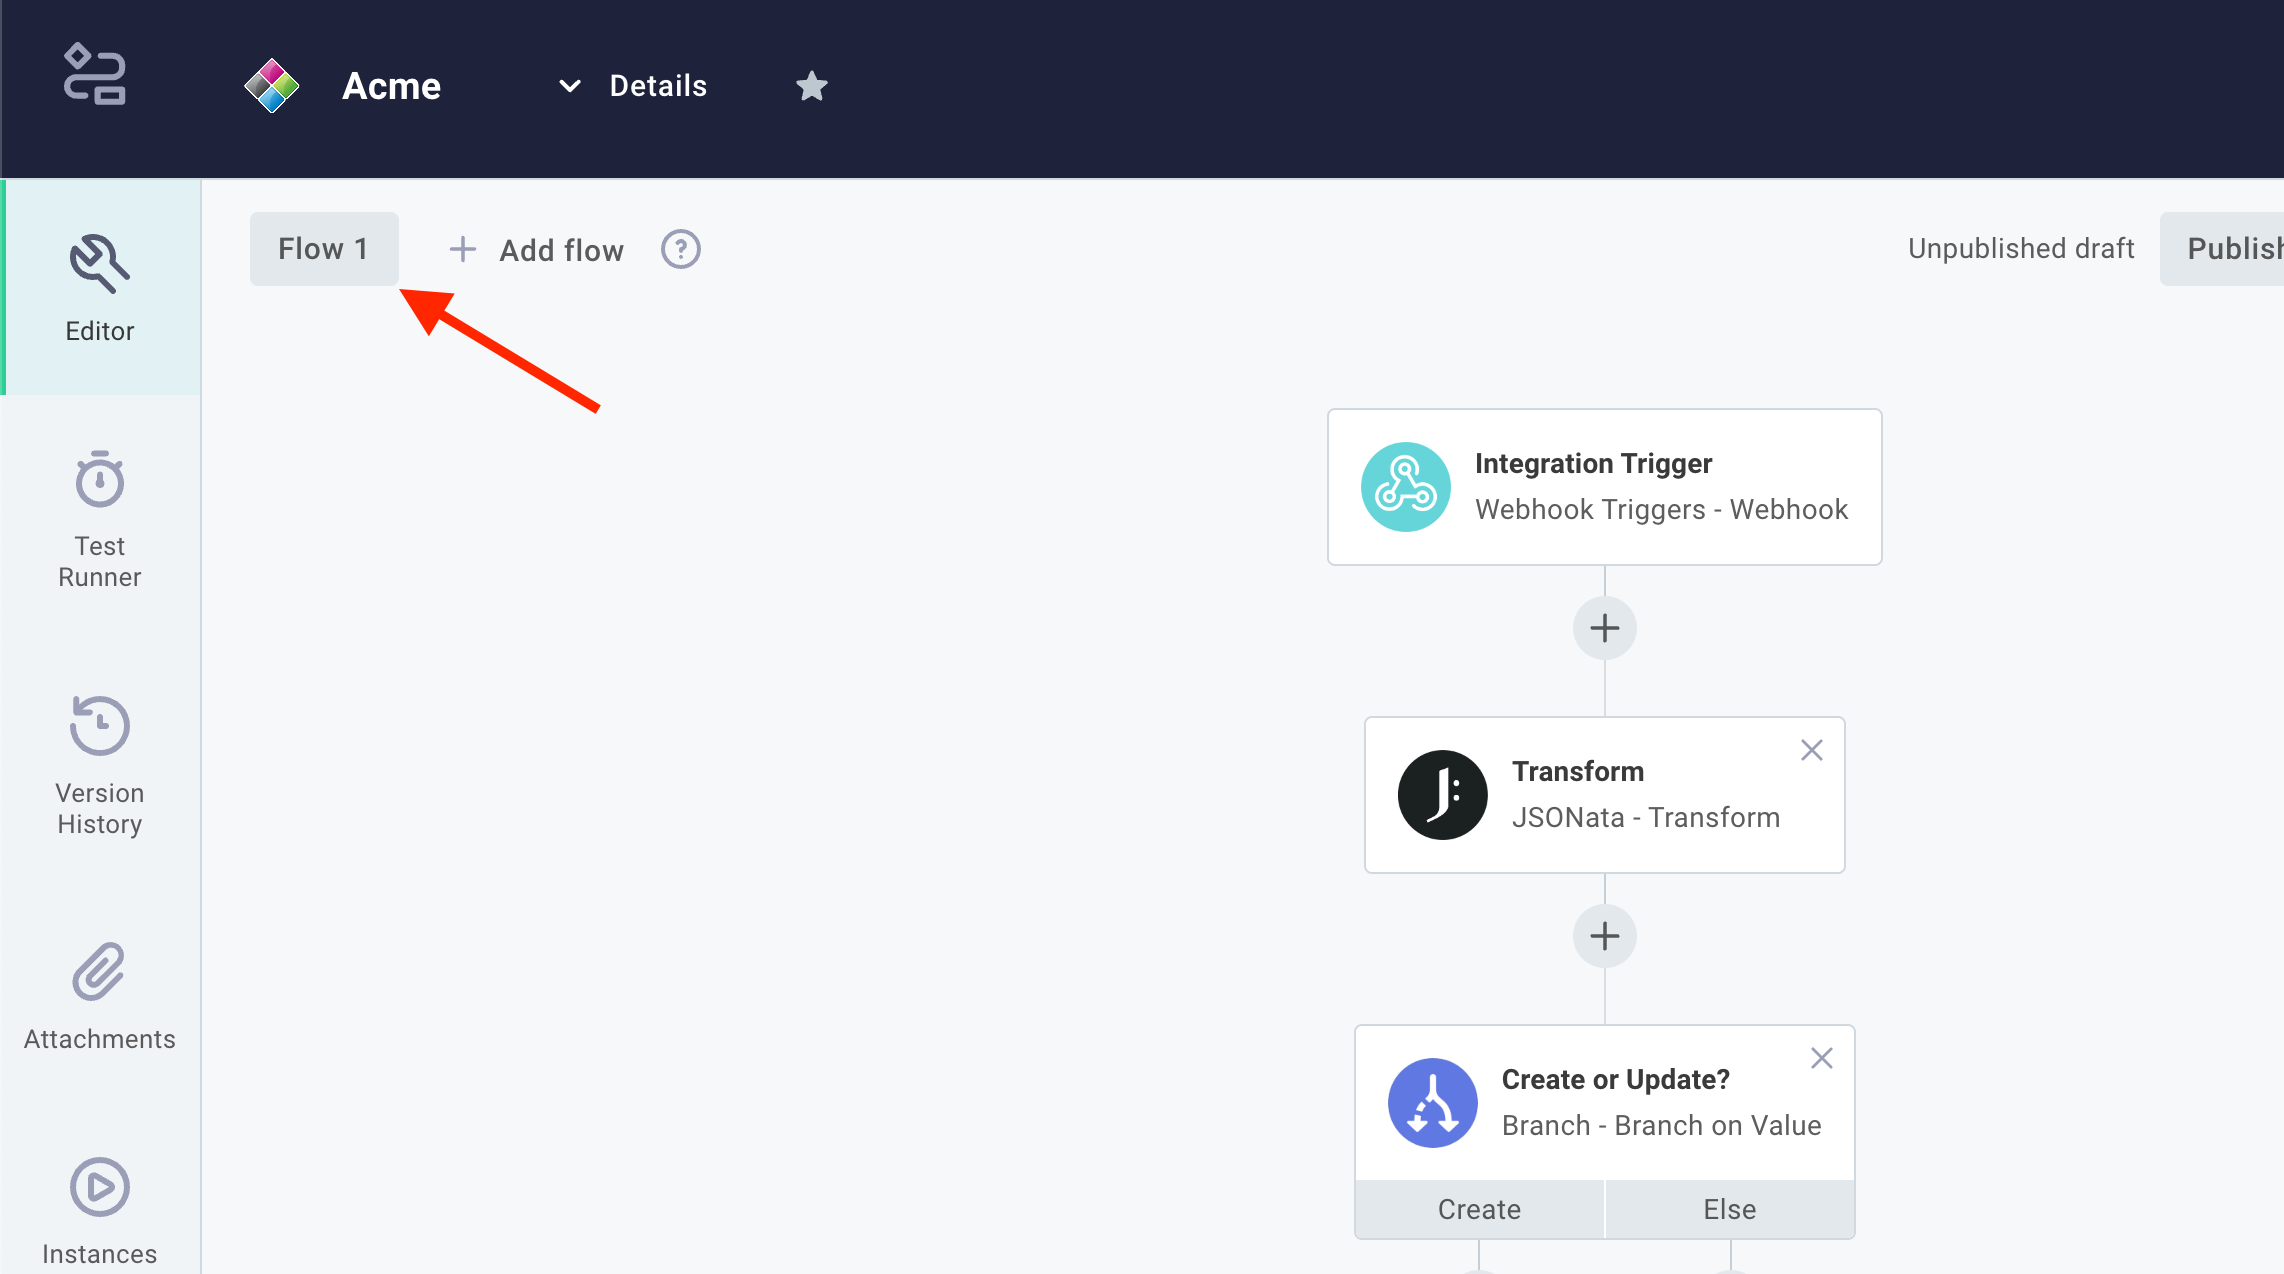
First we'll create a new integration. When we're dropped into the Builder, we start with a flow that has the default name "Flow 1". We can develop our first flow - the one that syncs customer data - in this editor.
When we're ready to add the second flow, we can click the + ADD FLOW button on the top-left side of the integration designer area.
We can call the new flow "Sync Inventory Data", and while we're at it we can rename "Flow 1" to "Sync Customer Data".
Each "Sync Data" flow can be developed as you would normally develop an integration. You can read about developing integrations on the building integrations docs article.
Config variables with multiple flows
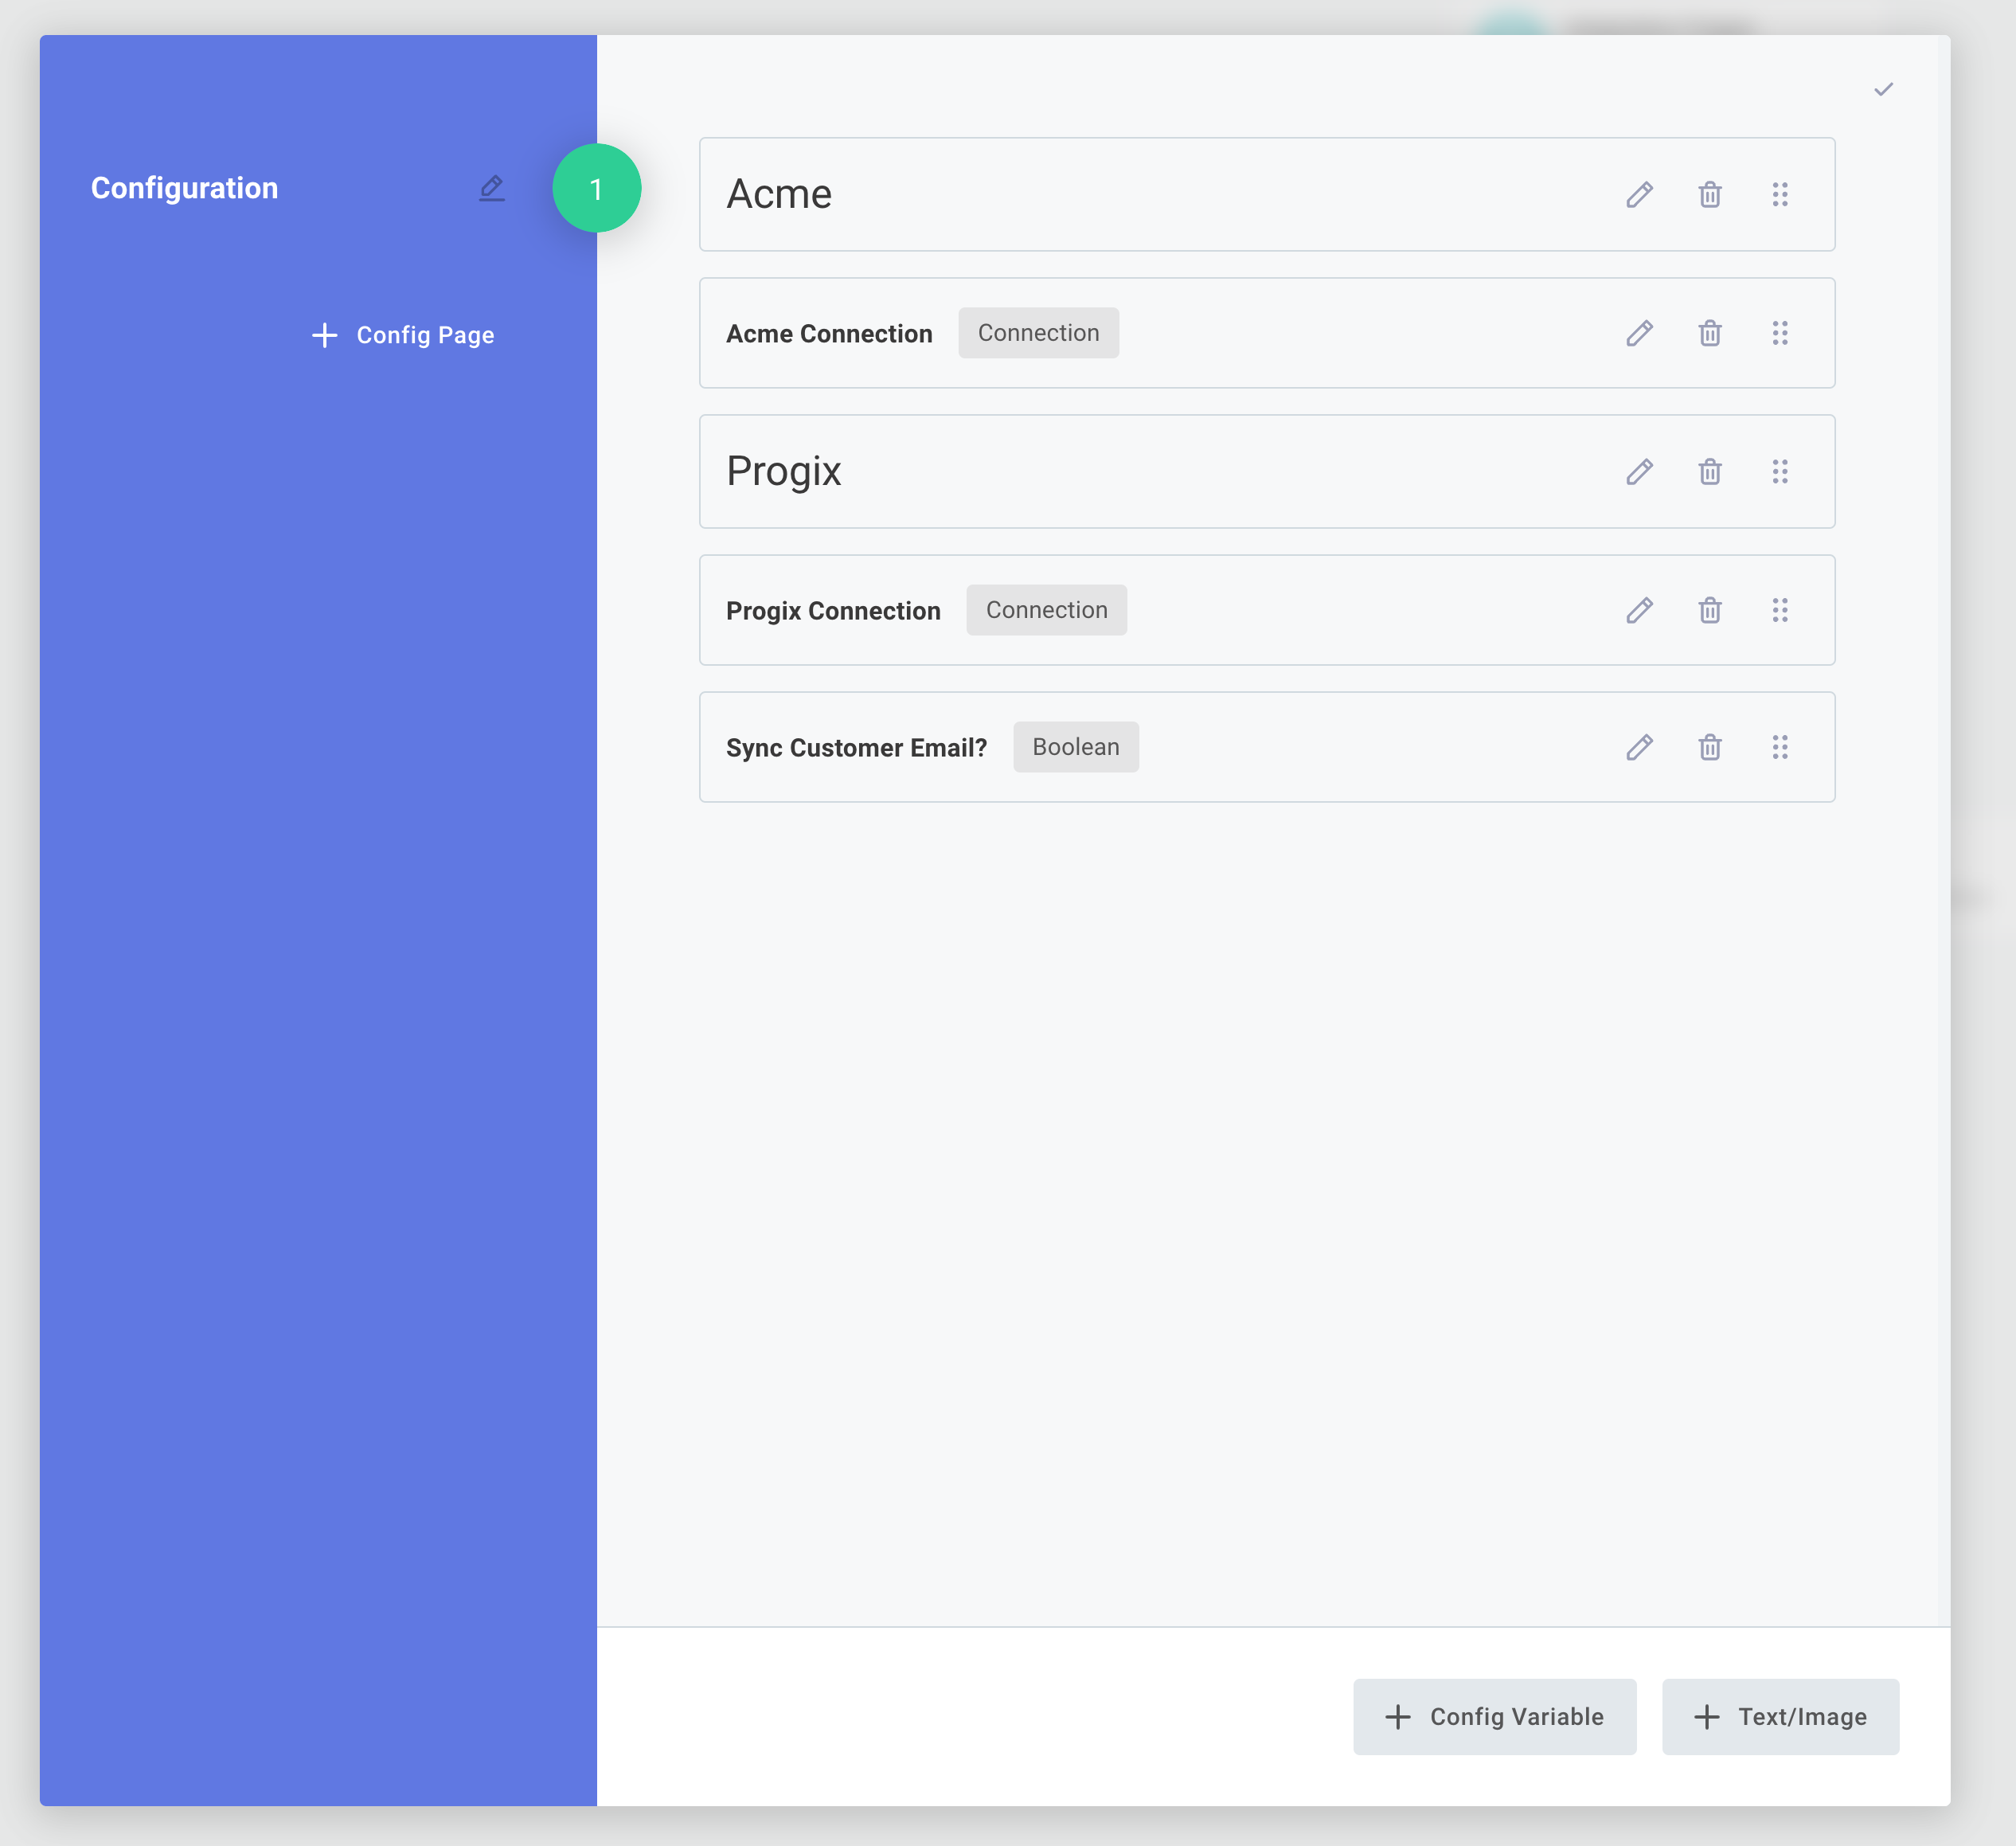
Config variables are shared between flows. That lets us enter Progix or Acme ERP authentication information just once when configuring an instance of the integration. If we open up the Configuration Wizard Designer by clicking Configuration Wizard, we can customize the deployment experience for our consumers of the integration. Let's go ahead and add headings and some config variables and that will be required for the various flows in the integration:
Testing our data sync flows
Each flow has its own unique webhook URL and can be tested independently from the other flow. To test a flow, we can swap over to the flow we'd like to test by clicking the name of the current flow on the top left of the Builder drawer, select the flow we'd like to test Then, we can click SAVE & RUN TEST.
Running a test in one flow will not invoke the other flows.
Create our initialization flow
At this point, we have two working flows that can process data from Acme ERP. We could stop development here, and whenever we deploy an instance of this integration we could manually enter in the Webhook URLs that the instance is assigned into Acme ERP.
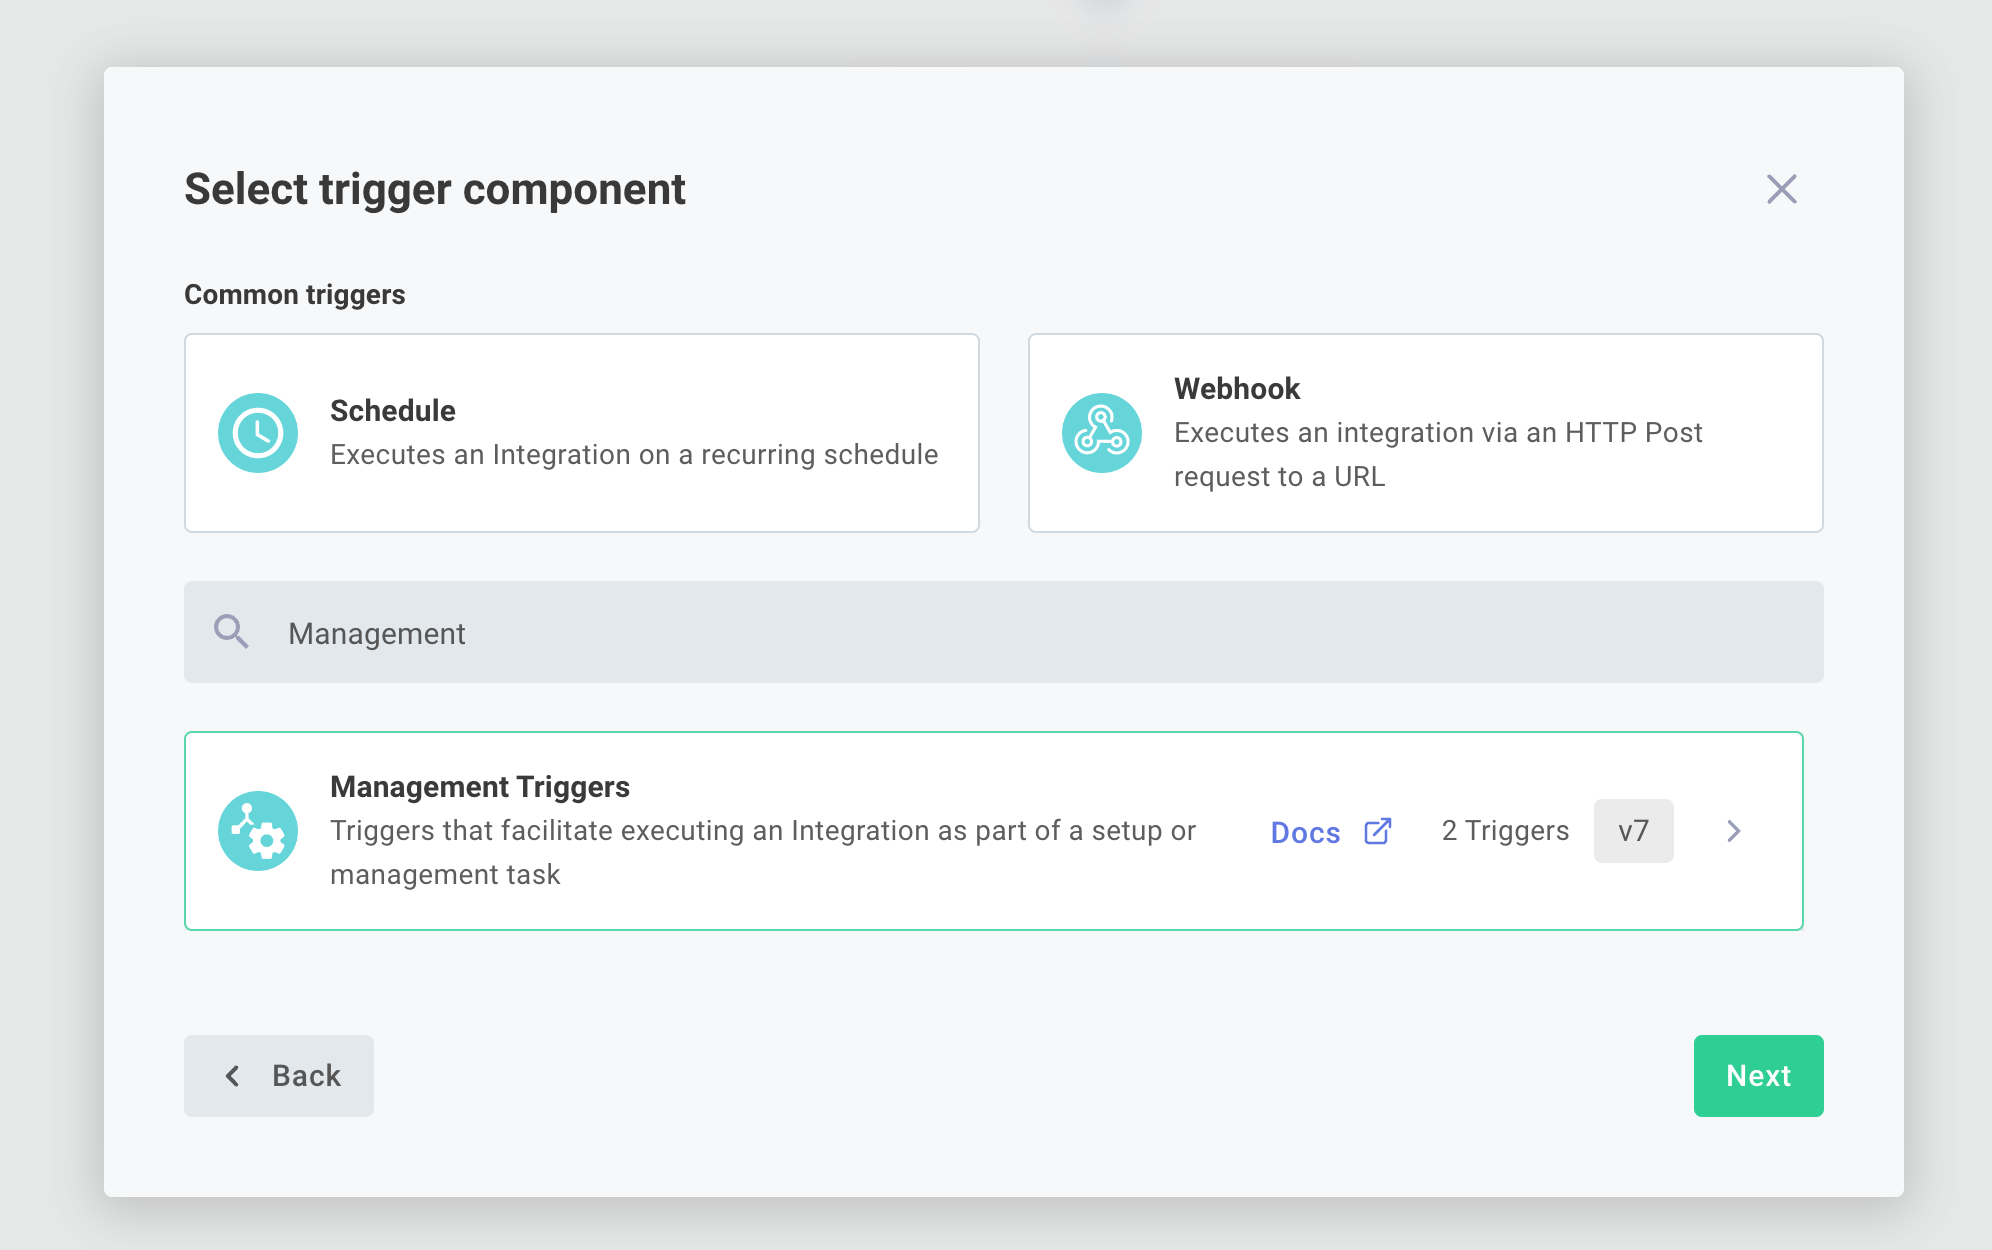
We'd like to create those webhooks programmatically, instead. Let's create a third flow and call it "Initialization" that sets up those webhooks within Acme ERP. Like last time, we'll add a new flow, and give it a name and description.
This time, though, select Management Triggers - Instance Deploy as your trigger:
Referencing webhook URLs as inputs
Our "Initialization" flow will have two steps - one for each webhook we need to set up in Acme ERP to point to the two other "sync data" flows.
An integration is cognizant of its own flows' webhook URLs, and those are accessible from the trigger's results.webhookUrls.FLOW_NAME.
We can pass those webhook URLs as inputs into a component that is responsible for creating webhooks within Acme ERP:
We can test this flow as we would any other flow, and verify within Acme ERP that webhooks pointing to our test integration were set up as we'd expect.