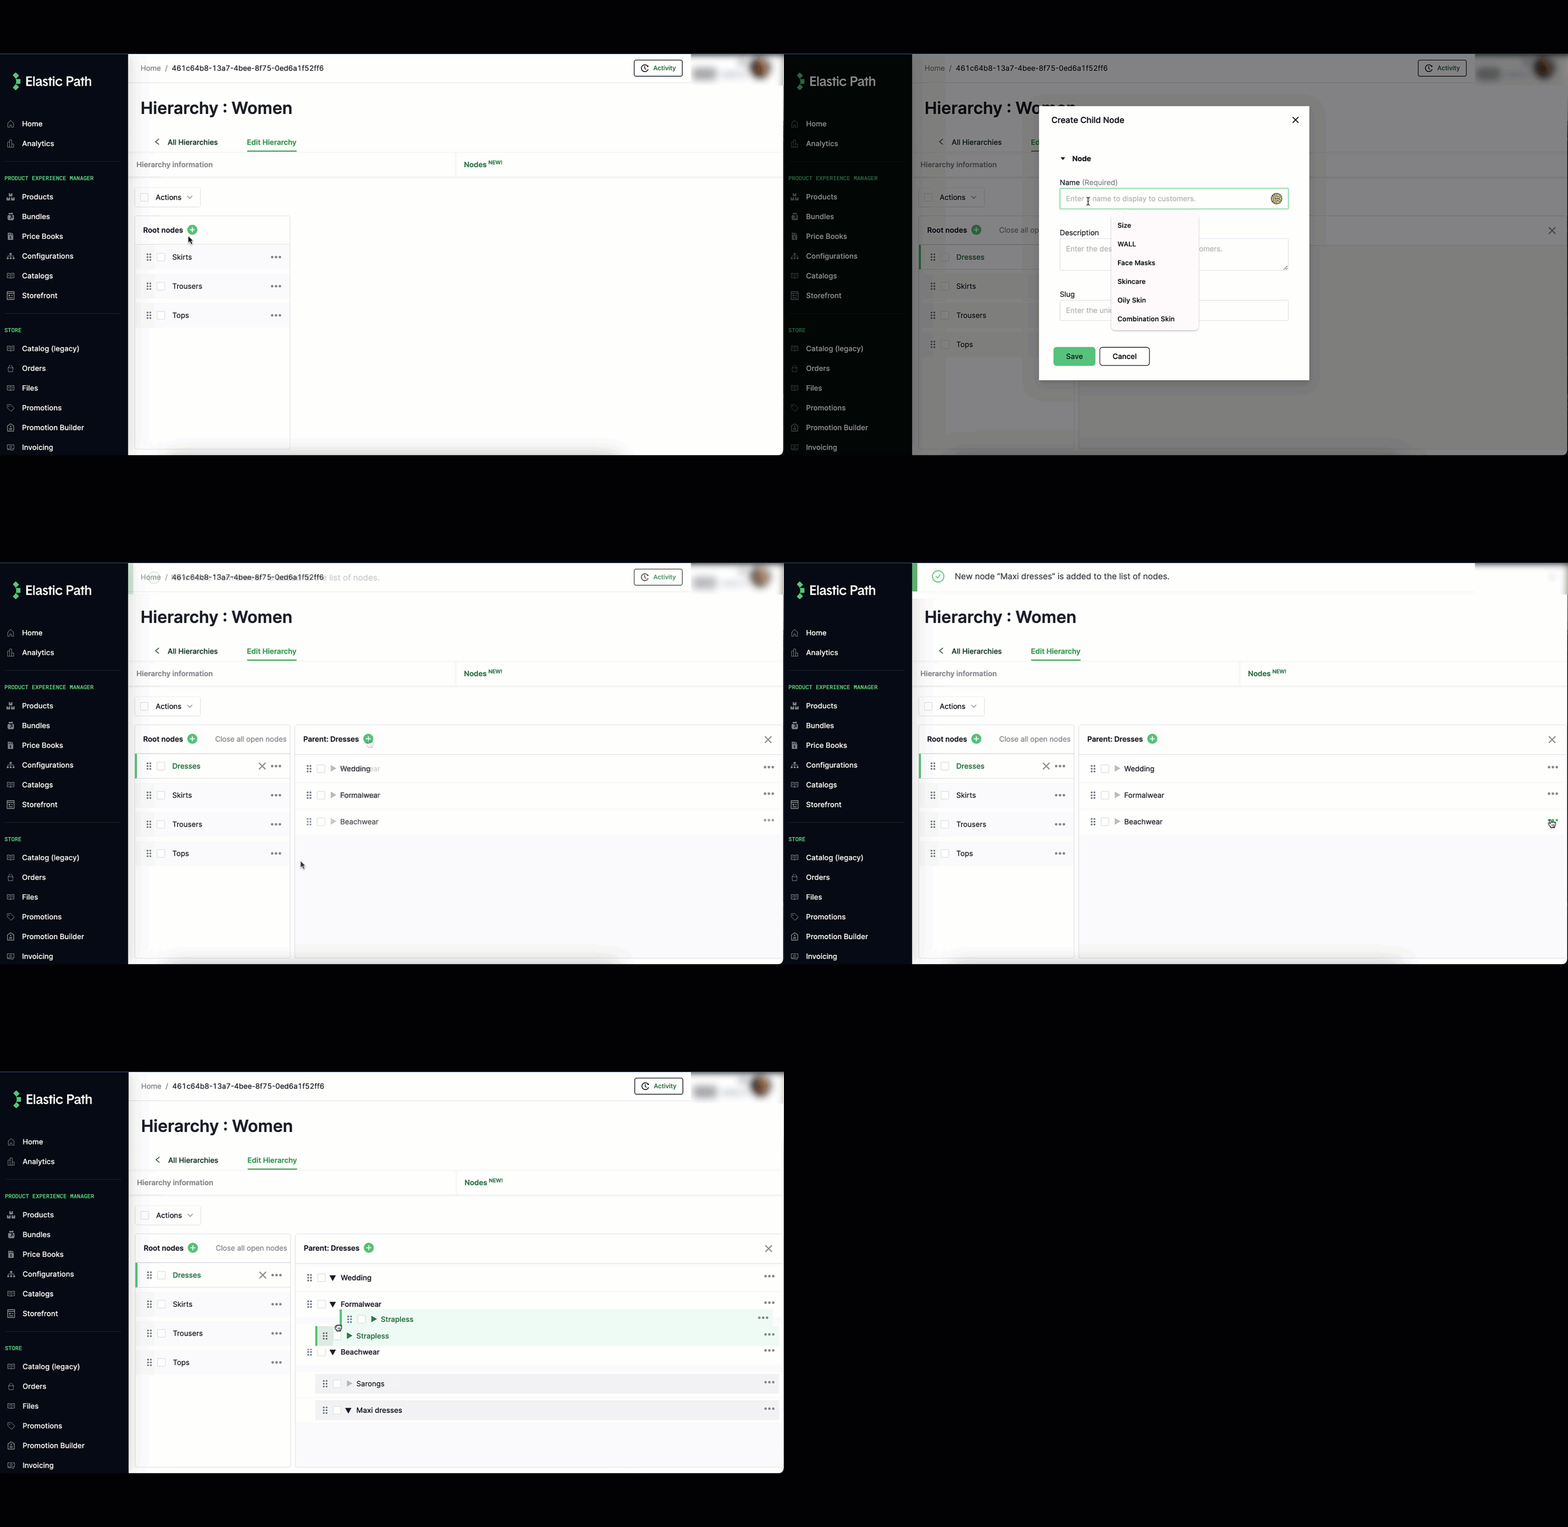
Creating Parent/Child Nodes
A hierarchy is a tree structure that consists of a root node with one or more parent nodes. Each parent node can also have one or more children nodes, and so on, creating a parent-child relationship between nodes.
You must create a parent node first, then create your child nodes.
-
Go to Merchandise > Hierarchies.
-
Select the hierarchy where you want to add the parent/child nodes.
-
Select Nodes. Create your parent/child nodes.

-
Enter the following details for a node:
| Name | Required | Description | | --- | --- | --- | --- | | Name | Required | The name of the node. Names must be unique among sibling nodes in the hierarchy. Otherwise, a name can be non-unique within the hierarchy and across multiple hierarchies. | | Description | Optional | A description of the node. | | Slug | Optional | A slug for the node. Slugs must be unique among sibling nodes in the hierarchy. Otherwise, a slug can be non-unique within the hierarchy and across multiple hierarchies. | | Weight | Optional | Enter a value to determine the order that nodes are displayed in your storefront. The node with the highest value is displayed first. The weight value must be greater than or equal to one. For example, 1, 2, 3, or 100, 90, 80, and so on.
- If you don’t provide a weight, child nodes are displayed in the order they were last updated, with the most recently updated child node displayed first.
- If you set a weight for only a few child nodes, the child nodes with a weight appear first and then other child nodes appear in the order they were last updated.
- From the Locale list, select the language you want to use to localize your node details. You can activate and deactivate languages in Commerce Manager. You can activate a maximum of five languages. See Using Locales.
- Add a localized node name and description.
-
You can edit a node at any time by selecting ... > Edit node.
-
Select Save and Continue to save your changes.