Integrate Apple Pay with Swift
This walkthrough shows you how to integrate Apple Pay into an existing iOS app. After you integrate with Apple Pay, end users can pay for an order on their iPhones.
Prerequisites
If you want to follow along, you need the following items:
- An Apple Developer account.
- A Composable Commerce account with an existing project. At minimum, you need:
- Configured products
- Configured payment gateway (manual)
Step-by-step walkthrough
Feel free to skip to the end, and grab the completed example project by clicking the source code links under Further Reading, or follow the step-by-step walkthrough.
- Get the code from GitHub.
- Set up the iOS app project.
- Display a product.
- Update your store.
- Set up Apple Pay credentials.
- Set up an Apple Pay project.
- Add an Apple Pay button.
- Create an Apple Pay request.
- Handle shipping.
- Implement Apple Pay delegates.
- Create a checkout in Composable Commerce.
- Create payment transactions.
Get the code from GitHub
In a terminal:
git clone https://github.com/moltin-examples/applepay-starter.git
Then navigate into the new directory, and install the CocoPods:
pod install
Set up the iOS app project
Open the workspace project in Xcode, and run to confirm everything is working.

Display a product
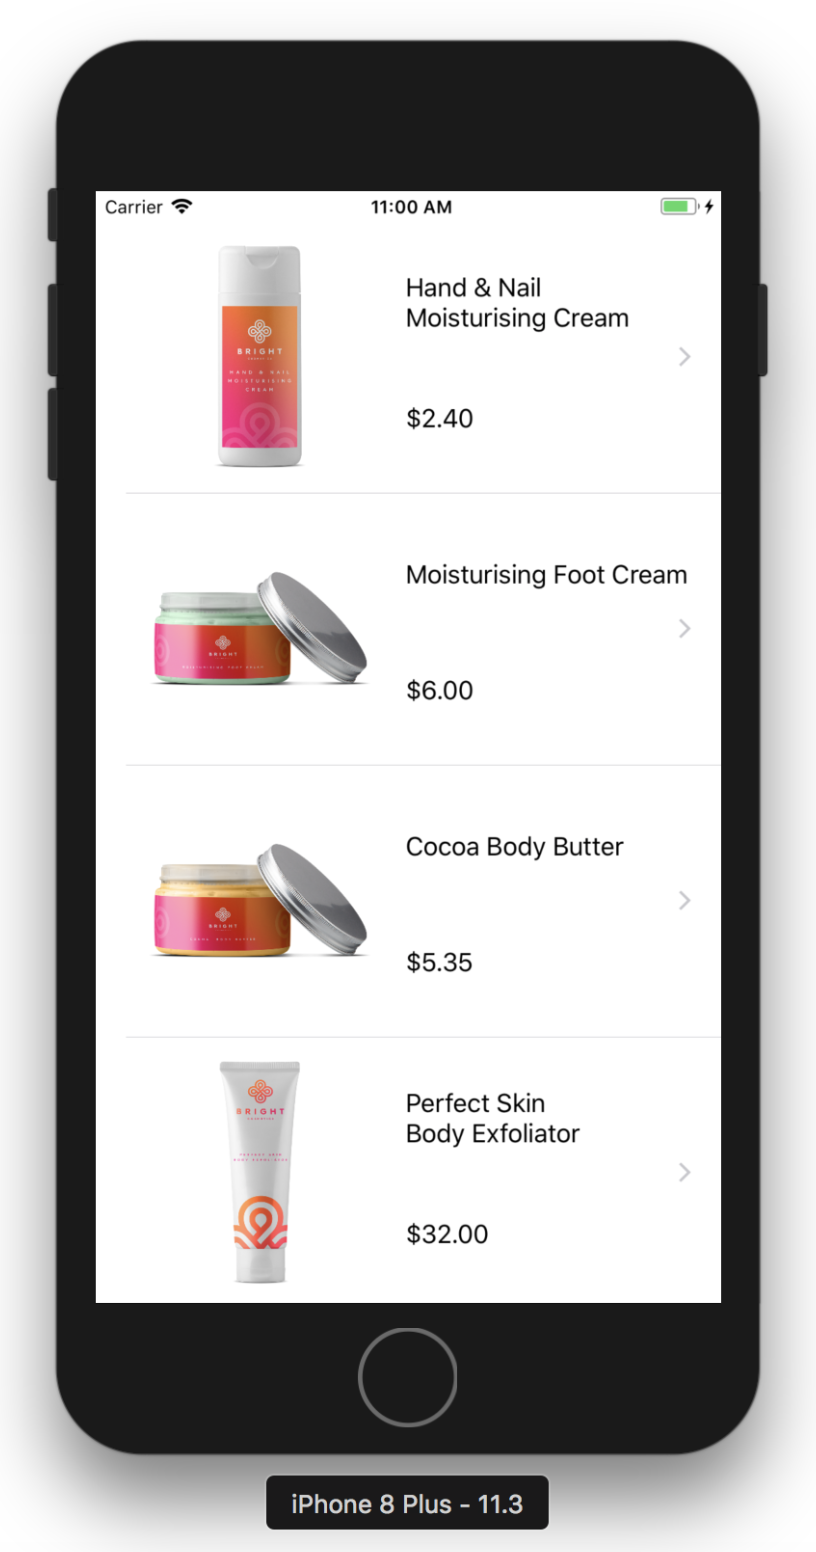
The app as it stands is a simple Master/Detail application that shows a list of products from a demo store in the master view. Tap on any product to navigate to a detail view which shows a bigger picture of the swag as well as a more detailed description.
Update your store
Update the store ID in MoltinProductsViewController to use your products:
//Replace with your client id
let moltin = Moltin(withClientID: "u8cV0fAtS8ELXcyxWY2r4deLTHs1i3NkgV8rt7ZqWX")
Set up Apple Pay credentials
- Log in to your developer account.
- Go to Member Center, and click Certificates, Identifiers & Profilesstrong\Identifiers\App IDs.
- Click the + button to create a new App ID.
- Name the Apple ID with either your app name or use Apple MoltinProducts, and give it a Bundle ID in the format:
com.YOURDOMAIN.MoltinProducts. If you already have a project, substitute the names accordingly. - Make sure that Explicit App ID is selected, as wildcard App IDs aren’t able to make payments with Apple Pay.
- Under App Services, enable the Apple Pay checkbox, click Continue, and then click Submit to complete the creation of your new App ID.
- Under Identifiers, click Merchant IDs in the left navigation pane.
- Click + to create a new merchant ID, and use whatever description and merchant identifier you’d like. Generally, it’s recommended to create merchant identifiers in the reverse domain style that start with
merchant, similar to bundle IDs. - Click Continue, and then click Register to create your new merchant ID.
Now that your App ID and merchant ID are set up, head back to Xcode to get your project ready for Apple Pay.
Set up Apple Pay project
- Select the MoltinProducts project in the left navigation bar, then select the MoltinProducts target, and change the Bundle Identifier to match the one you created previously.
- Ensure that the Team selection box is pointing to the development team under which you created your App ID and merchant ID.
- Click the Capabilities tab, expand the Apple Pay section, and ensure that the switch on the right is set to ON.
- Push the refresh button below the merchant ID list. You should see the list populates with the merchant ID you added on the developer portal, if it wasn’t there already.
- Make sure that your merchant ID checkbox is selected.
At this point, you should have checkmarks next to all sections that deal with setting up a project, displaying a product, and setting up Apple Pay credentials. If any of the sections is not marked as checked, retrace your steps and correct the details to make sure you’ve satisfied Apple’s requirements.
You now have Apple Pay enabled in your app.
Add Apple Pay button
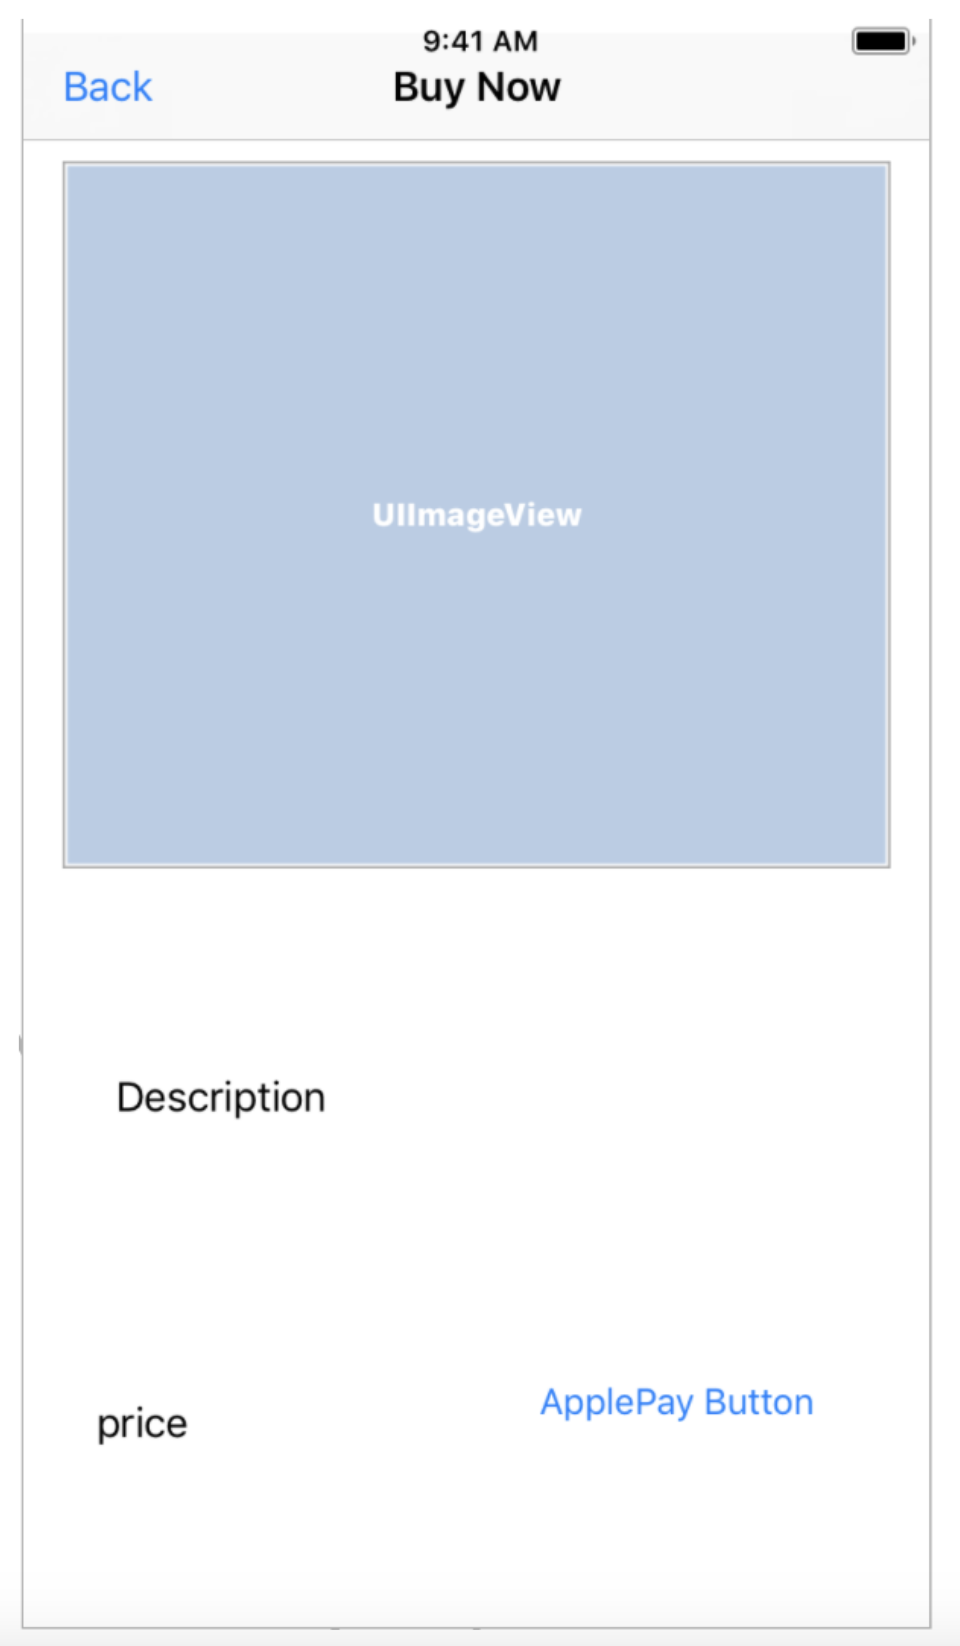
Open Main.storyboard and take a look at the Buy Product scene.

Apple has a very specific set of Apple Pay guidelines to adhere to, which extends to the buttons in your app. Take a few minutes to review these guidelines at the Apple Pay developer site.
The Apple Pay Buttons and Resources link at the Apple Pay developer site provides you with a zip file. The file contains an extensive collection of approved button resources for Apple Pay.
You can find a set of Apple Pay images ready for use in the starter project’s Image.xcassets.
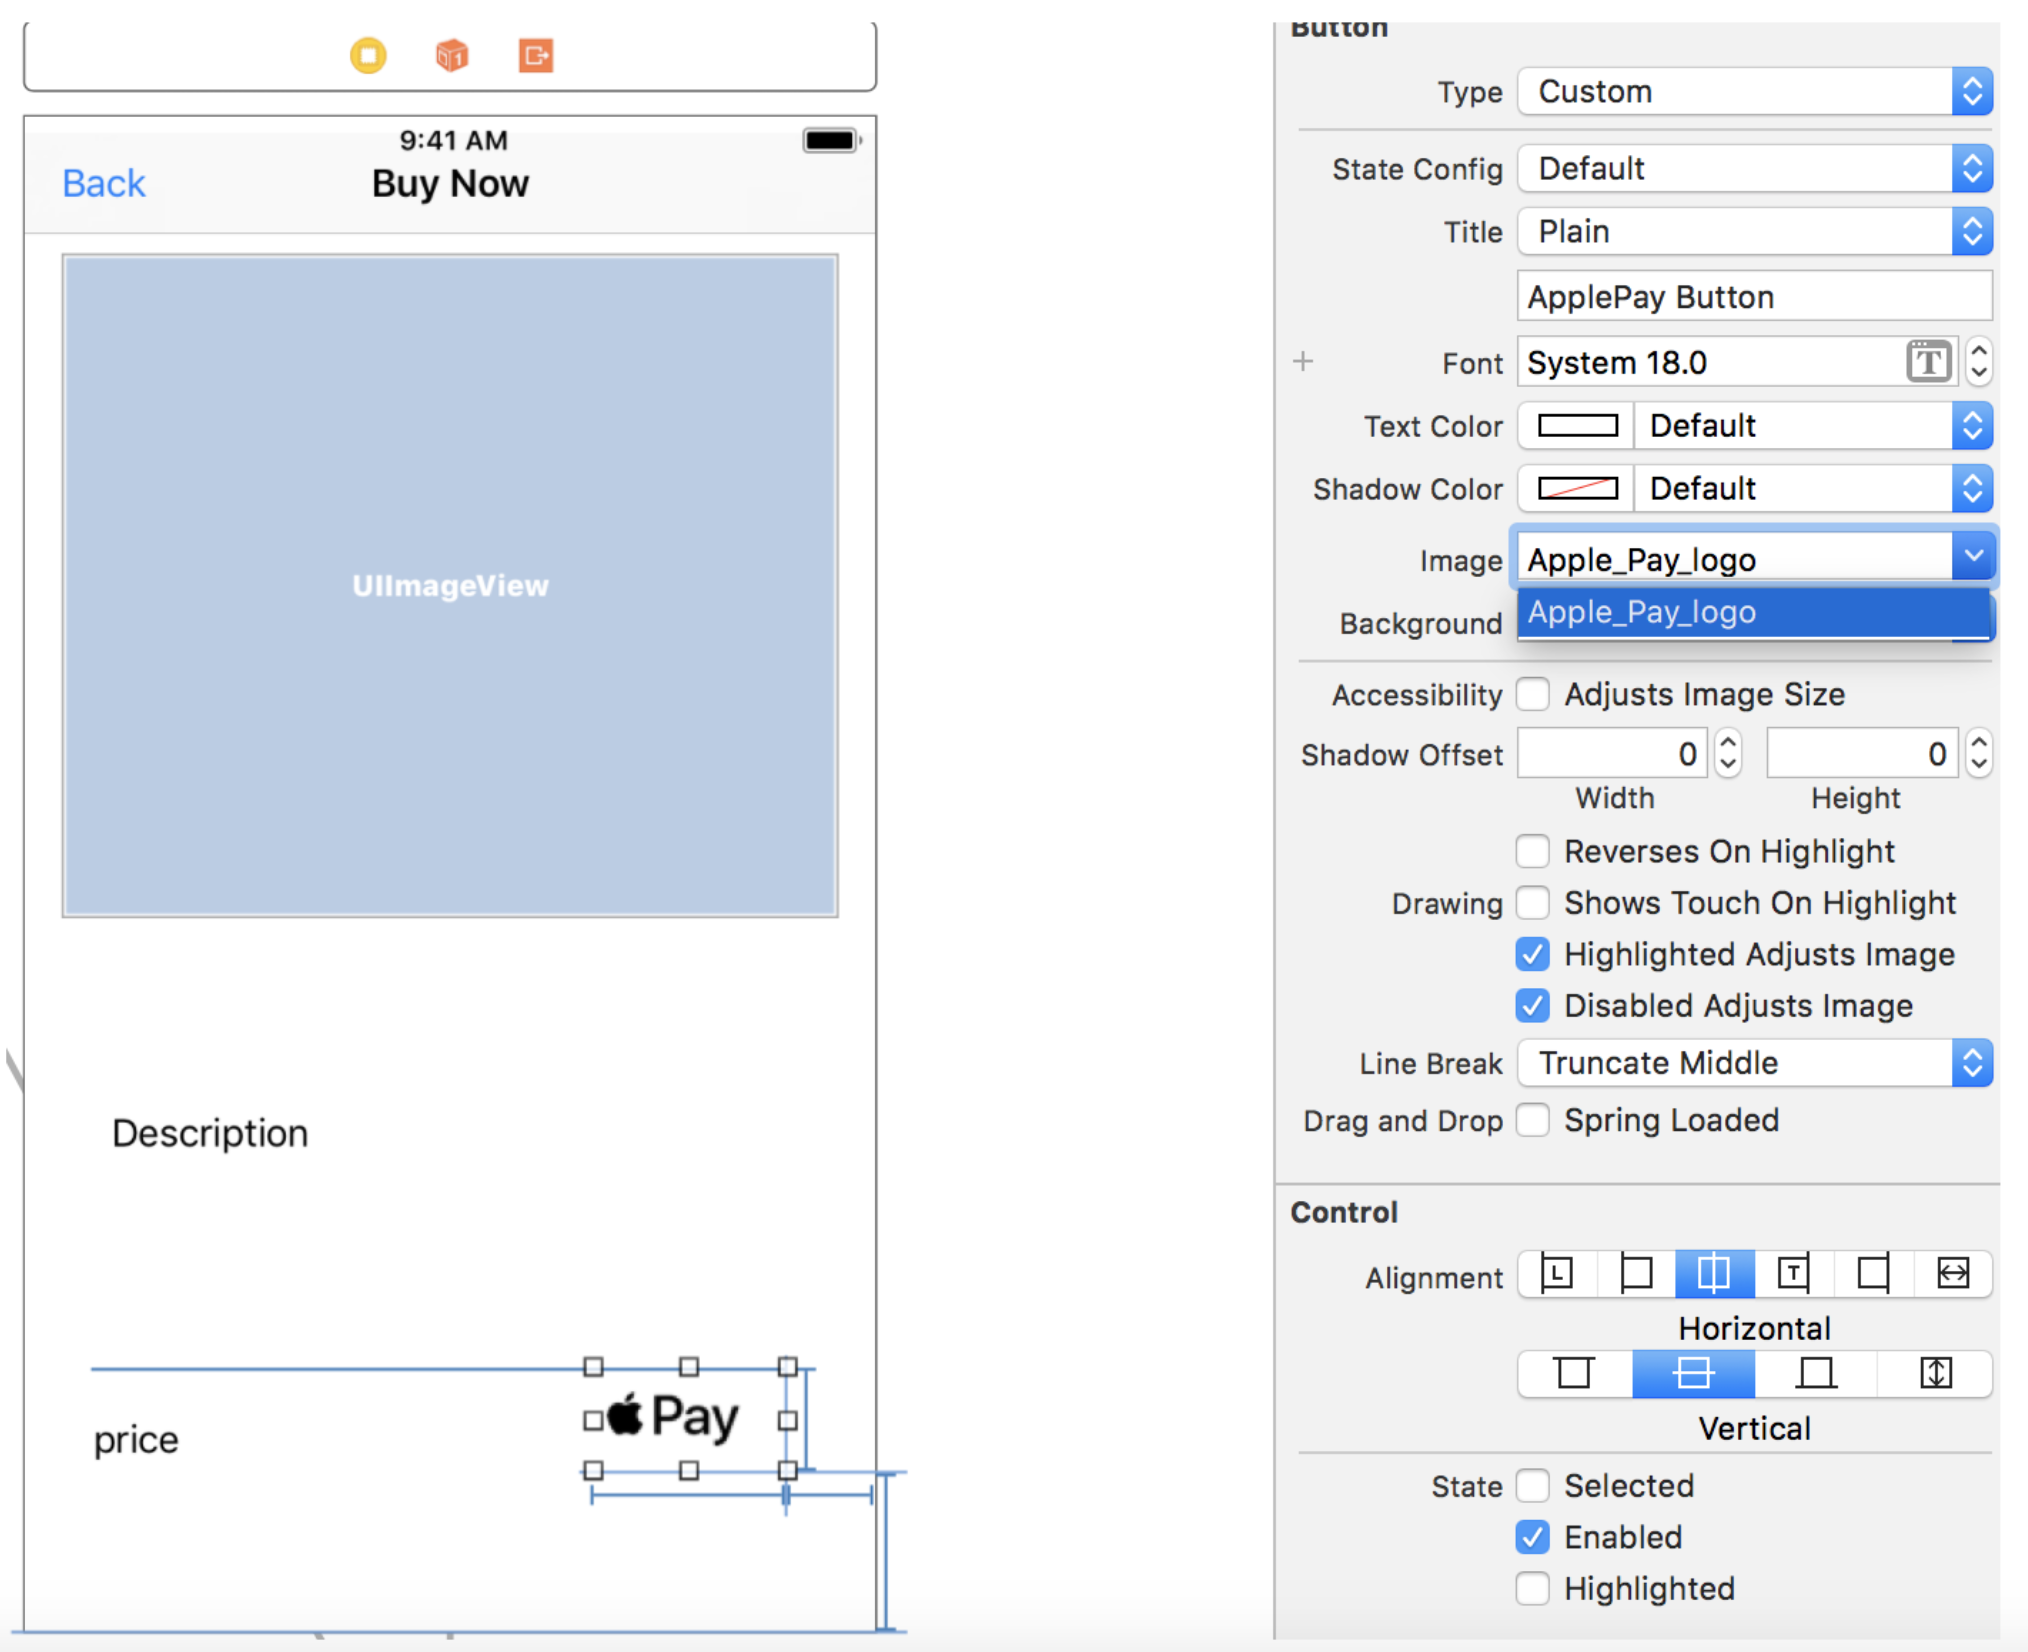
Using the Buy Product Interface Builder, select the Apple Pay button, and change the image to ApplePay. Give your button an empty title instead of the default “button” title. Your scene should now look as follows:

Create Apple Pay request
-
Open BuyProductViewController.swift and add the following import to the top of the file:
import PassKit -
Locate
applePayPressed(sender:);you execute this when the user attempts to purchase an item. To do this, you’ll need to create aPKPaymentRequestand aPKPaymentAuthorizationViewController. -
Locate
applePayPressed(sender:);you execute this when the user attempts to purchase an item. To do this, you’ll need to create aPKPaymentRequestand aPKPaymentAuthorizationViewController. -
Add the following code to the body of
applePayPressed(sender:):// TODO: - Fill in implementation
let request = PKPaymentRequest()
let applePayController = PKPaymentAuthorizationViewController(paymentRequest: request)
self.present(applePayController!, animated: true, completion: nil) -
Add the following code just under the IBOutlet properties of
BuySwagViewController:let SupportedPaymentNetworks =[PKPaymentNetwork.visa, PKPaymentNetwork.masterCard, PKPaymentNetwork.amex]
// Add in any extra support payments.
let ApplePayMerchantID = "merchant.com.YOURDOMAIN.ApplePayMoltin"
// Fill in your merchant ID here! -
In the viewDidLoad, check to see if the user can use Apple Pay.
applePayButton.hidden = !PKPaymentAuthorizationViewController.canMakePaymentsUsingNetworks(SupportedPaymentNetworks) -
Now start filling out the request in
applePayPressed(sender:), under thelet request = PKPaymentRequest().request.merchantIdentifier = ApplePayMerchantID
request.supportedNetworks = SupportedPaymentNetworks
request.merchantCapabilities = PKMerchantCapability.capability3DS
request.countryCode = "US"
request.currencyCode = "USD" -
Create an array of
PKPaymentSummaryItemobjects that provide the user with a breakdown the items they’re purchasing. We add more detail to this array in the next step.//Item information formatting
let productToBuy = PKPaymentSummaryItem(label: product?.name ?? "", amount: NSDecimalNumber(decimal:Decimal((self.product?.meta.displayPrice?.withoutTax.amount)!/100)), type: .final)
let total = PKPaymentSummaryItem(label: "Total with Tax", amount: NSDecimalNumber(decimal:Decimal((self.product?.meta.displayPrice?.withTax.amount)!/100)))
//PKPaymentSummaryItem Array, we are adding too.
request.paymentSummaryItems = [productToBuy,total] -
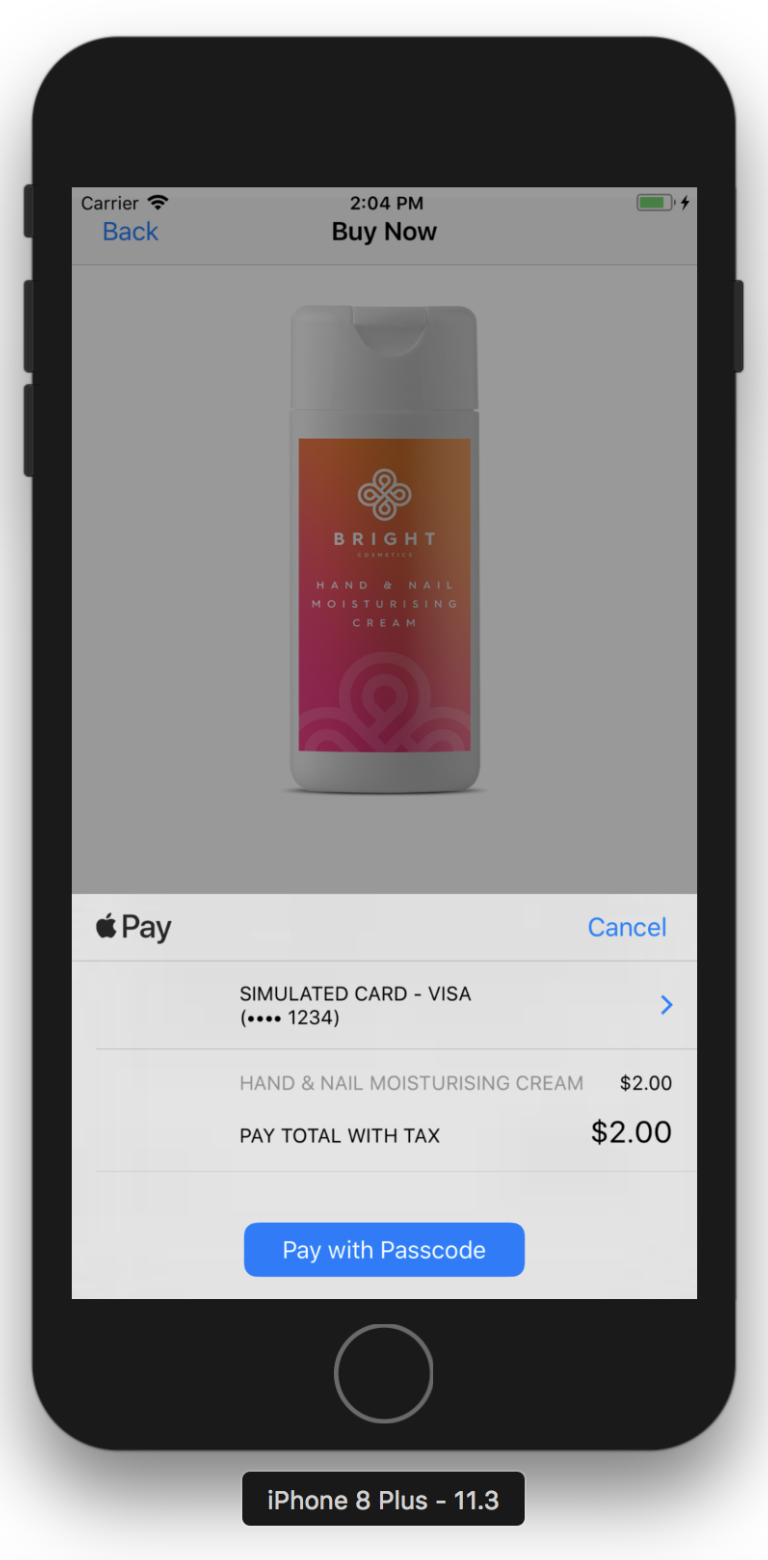
Run the app to confirm whether you see Apple Pay when you hit the Apple Pay button on the buy scene.

Handle shipping
We add a static billing amount to start. Billing needs are going to differ greatly on what your store is selling.
let shippingPrice: NSDecimalNumber = NSDecimalNumber(string: "5.0")
let shipping = PKPaymentSummaryItem(label: "Shipping", amount: shippingPrice)
let totalPrice = PKPaymentSummaryItem(label: "Total amount", amount: NSDecimalNumber(decimal:Decimal((self.product?.meta.displayPrice?.withTax.amount)!)/100).adding(shippingPrice))

//PKPaymentSummaryItem Array
request.paymentSummaryItems = [productToBuy,shipping, totalPrice]
Implement Apple Pay delegates
In BuyProductViewController.swift, add the following extension to BuyProductViewController that implements PKPaymentAuthorizationViewControllerDelegate:
//Bottom of file
extension BuyProductViewController: PKPaymentAuthorizationViewControllerDelegate {
    func paymentAuthorizationViewController(_ controller: PKPaymentAuthorizationViewController, didAuthorizePayment payment: PKPayment, completion: @escaping ((PKPaymentAuthorizationStatus) -> Void)) {
        completion(PKPaymentAuthorizationStatus.success)
    }

    func paymentAuthorizationViewControllerDidFinish(_ controller: PKPaymentAuthorizationViewController) {
        controller.dismiss(animated: true, completion: nil)
    }
}
To be able to use the Apple pay, delegate class you need to set in aboveBuyProductViewController class. In the applePayPressed(sender:), set it up using the following code.
applePayController?.delegate = self
Create checkout in Composable Commerce
In BuyProductViewControllerin the PKPaymentAuthorizationViewControllerDelegate, you are sending a successful Apple pay order to Composable Commerce.
-
Get customers information. It is returned from the
PKPaymentAuthorizationViewControllerDelegatein thepaymentobject. -
Set up
customer.let customer = Customer(withEmail: payment.billingContact?.emailAddress, withName: payment.shippingContact?.name?.familyName) -
Set up the customer
address. Note that shipping and billing addresses can vary.let address = Address(withFirstName: (payment.shippingContact?.name?.givenName)!, withLastName: payment.shippingContact?.name?.familyName ?? "")
address.line1 = payment.shippingContact?.postalAddress?.street
address.county = payment.shippingContact?.postalAddress?.city
address.country = payment.shippingContact?.postalAddress?.country
address.postcode = payment.shippingContact?.postalAddress?.postalCode -
Process an order with Composable Commerce.
self.moltin.cart.checkout(cart: AppDelegate.cartID, withCustomer: customer, withBillingAddress: address, withShippingAddress: address)
{ (result) in
switch result {
case .success(let order):
DispatchQueue.main.async {
print(order)
}
default: break
}
}
Create payment transactions
Paying for the order can be done by various payment gateways. In this example we use the manual payment type, which allows you to complete the transaction that handles the payment processing any way you want.
-
In Commerce Manager, enable manual checkout. In Gateways, click Enable within the manual gateway and the click Save.
let paymentMethod = ManuallyAuthorizePayment()
self.moltin.cart.pay(forOrderID: order?.id ?? "", withPaymentMethod: paymentMethod) { (result) in
switch result {
case .success(let status):
DispatchQueue.main.async {
print("Paid for order: \(status)")
}
case .failure(let error):
print("Could not pay for order: \(error)")
}
} -
Within the checkout specified previously, complete the transaction by adding the following:
let paymentMethod = ManuallyAuthorizePayment()
self.moltin.cart.pay(forOrderID: order.id, withPaymentMethod: paymentMethod) { (result) in
switch result {
case .success(let status):
DispatchQueue.main.async {
controller.dismiss(animated: true, completion: nil)
print("Paid for order: \(status)")
}
case .failure(let error):
controller.dismiss(animated: true, completion: nil)
print("Could not pay for order: \(error)")
}
} -
Your
PKPaymentAuthorizationViewControllerDelegateshould now look like the following:extension BuyProductViewController: PKPaymentAuthorizationViewControllerDelegate
{
func paymentAuthorizationViewController(_ controller: PKPaymentAuthorizationViewController, didAuthorizePayment payment: PKPayment, completion: @escaping
((PKPaymentAuthorizationStatus) -> Void))
{
completion(PKPaymentAuthorizationStatus.success)
///Customer
let customer = Customer(withEmail: payment.billingContact?.emailAddress, withName: payment.shippingContact?.name?.familyName)
//Address
let address = Address(withFirstName: (payment.shippingContact?.name?.givenName)!, withLastName: payment.shippingContact?.name?.familyName ?? "")
address.line1 = payment.shippingContact?.postalAddress?.street
address.county = payment.shippingContact?.postalAddress?.city
address.country = payment.shippingContact?.postalAddress?.country
address.postcode = payment.shippingContact?.postalAddress?.postalCode
self.moltin.cart.checkout(cart: AppDelegate.cartID, withCustomer: customer, withBillingAddress: address, withShippingAddress: address)
{ (result) in
switch result {
case .success(let order):
DispatchQueue.main.async {
let paymentMethod = ManuallyAuthorizePayment()
self.moltin.cart.pay(forOrderID: order.id, withPaymentMethod: paymentMethod) { (result) in
switch result {
case .success(let status):
DispatchQueue.main.async {
print("Paid for order: \(status)")
controller.dismiss(animated: true, completion: nil)
}
case .failure(let error):
print("Could not pay for order: \(error)")
controller.dismiss(animated: true, completion: nil)
}
}
}
default: break
}
}
}
func paymentAuthorizationViewControllerDidFinish(_ controller: PKPaymentAuthorizationViewController)
{
controller.dismiss(animated: true, completion: nil)
}
}
Moving forward
If you’d like to read more in-depth information about Apple Pay, you can check out their developer site. The site also has a list of other payment platforms, other than Stripe, that support Apple Pay.
There are many other features of Apple Pay that you could challenge yourself to add to your app:
- Calculate sales tax on the server and update the tax amount in
summaryItems. - Change the available shipping methods based on the ZIP code.
- Read the order information on the server, and verify that the address is valid as a shipping destination.
- Create your own customized Apple Pay button by following the Apple Pay guidelines.
Related Resources
- apply-pay-swift-tutorial (Source code)
- ios-sdk (Source code)